Stability
Although these movements can be hard in their own right, these stability exercises are designed to help us practice controlling our braced core, positing our shoulders/hips in the proper place in their socket, and training our brain to externally rotate the shoulder/hip whenever it is flexed and internally rotate the shoulder/hip whenever it is extended. Most unbalanced development of muscle and lack of performance can be traced back to issues with posture, the squat, the push-up, and the jumping movement patterns. These exercises will help you develop and train proper position and are great to use as warm-ups, cool-downs, accessory to workouts, as well as rehabbing an injury.
Single-arm DB Floor Press
You can set up either with both feet tucked or just one with your core braced. The first two steps are actually necessary, but for someone who is having trouble feeling their shoulder packed in their socket can add good cues to the set-up of the movement.

1. Press the dumbbell up with external rotation of the shoulder (the same we would do in a push-up), so that the dumbbell is parallel to your body and you feel the muscles of the back of your shoulder and your back flexing a bit. To feel the set-up, first push the dumbbell upwards, so your shoulder blade is completely off of the ground.
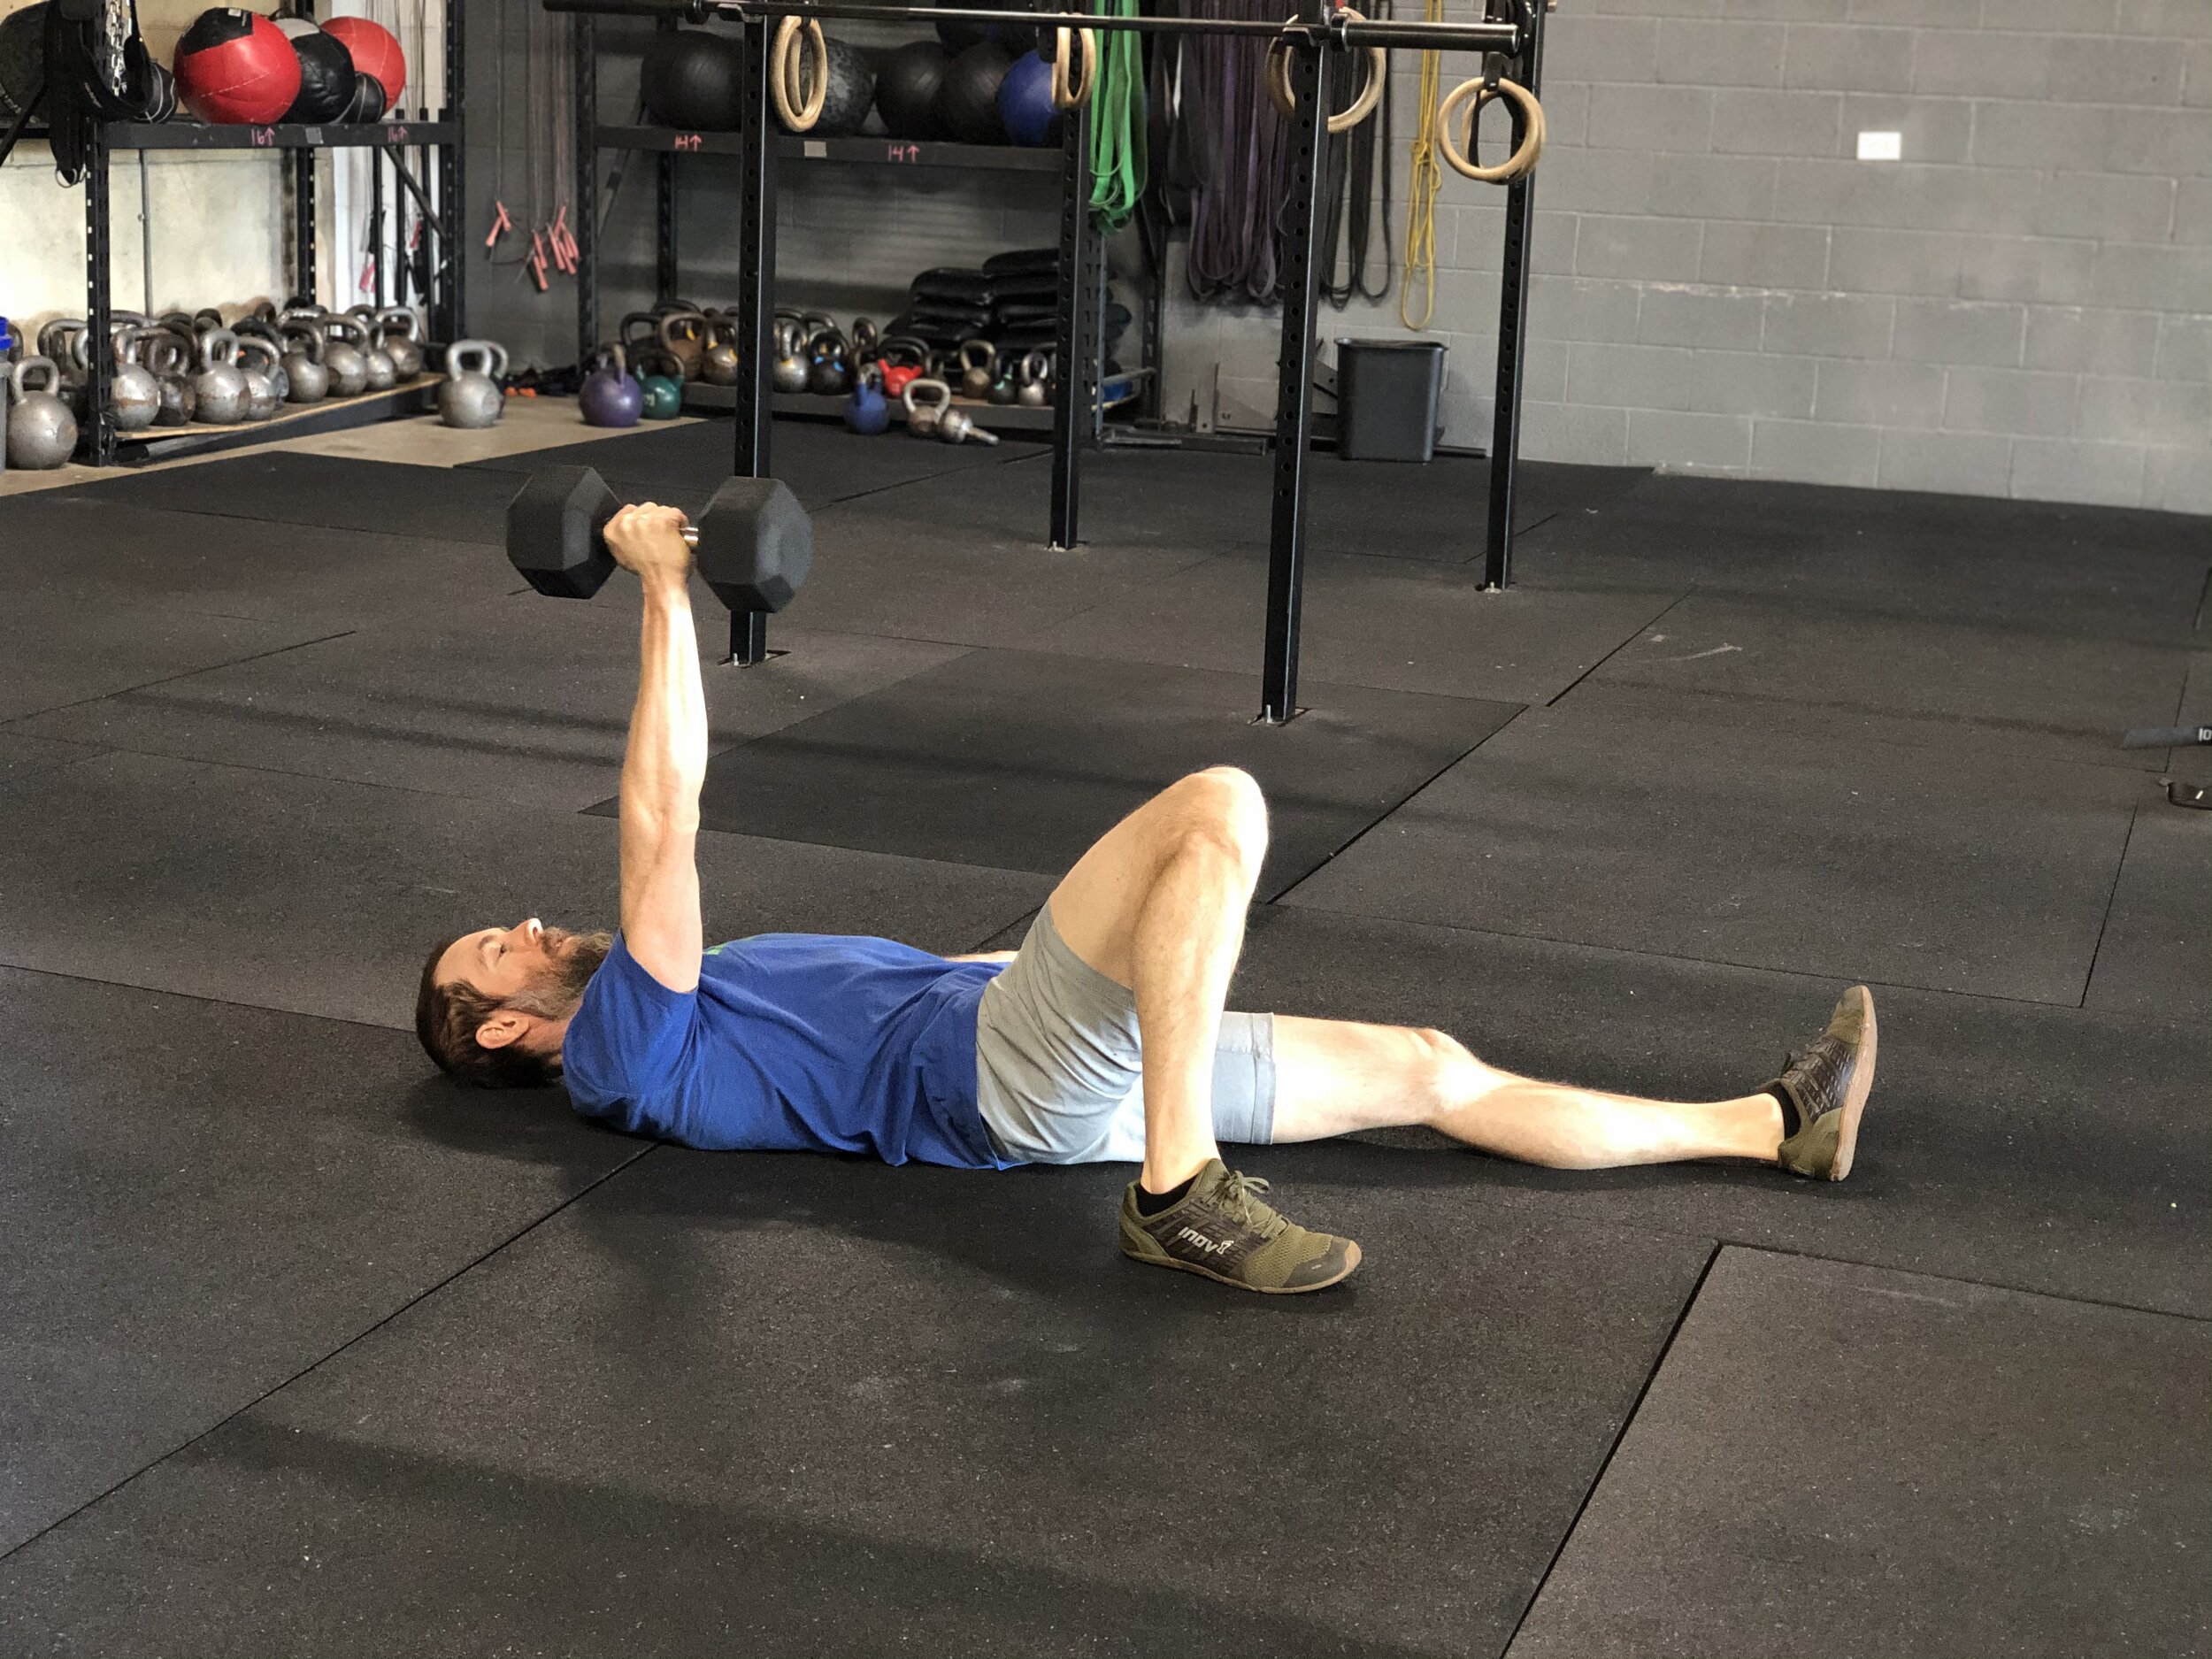
2. Keeping the external rotation in the shoulder, lower your shoulder blade to the ground. Again, this step is just to set-up the feeling of having your shoulder in the back of it’s socket in the next step.
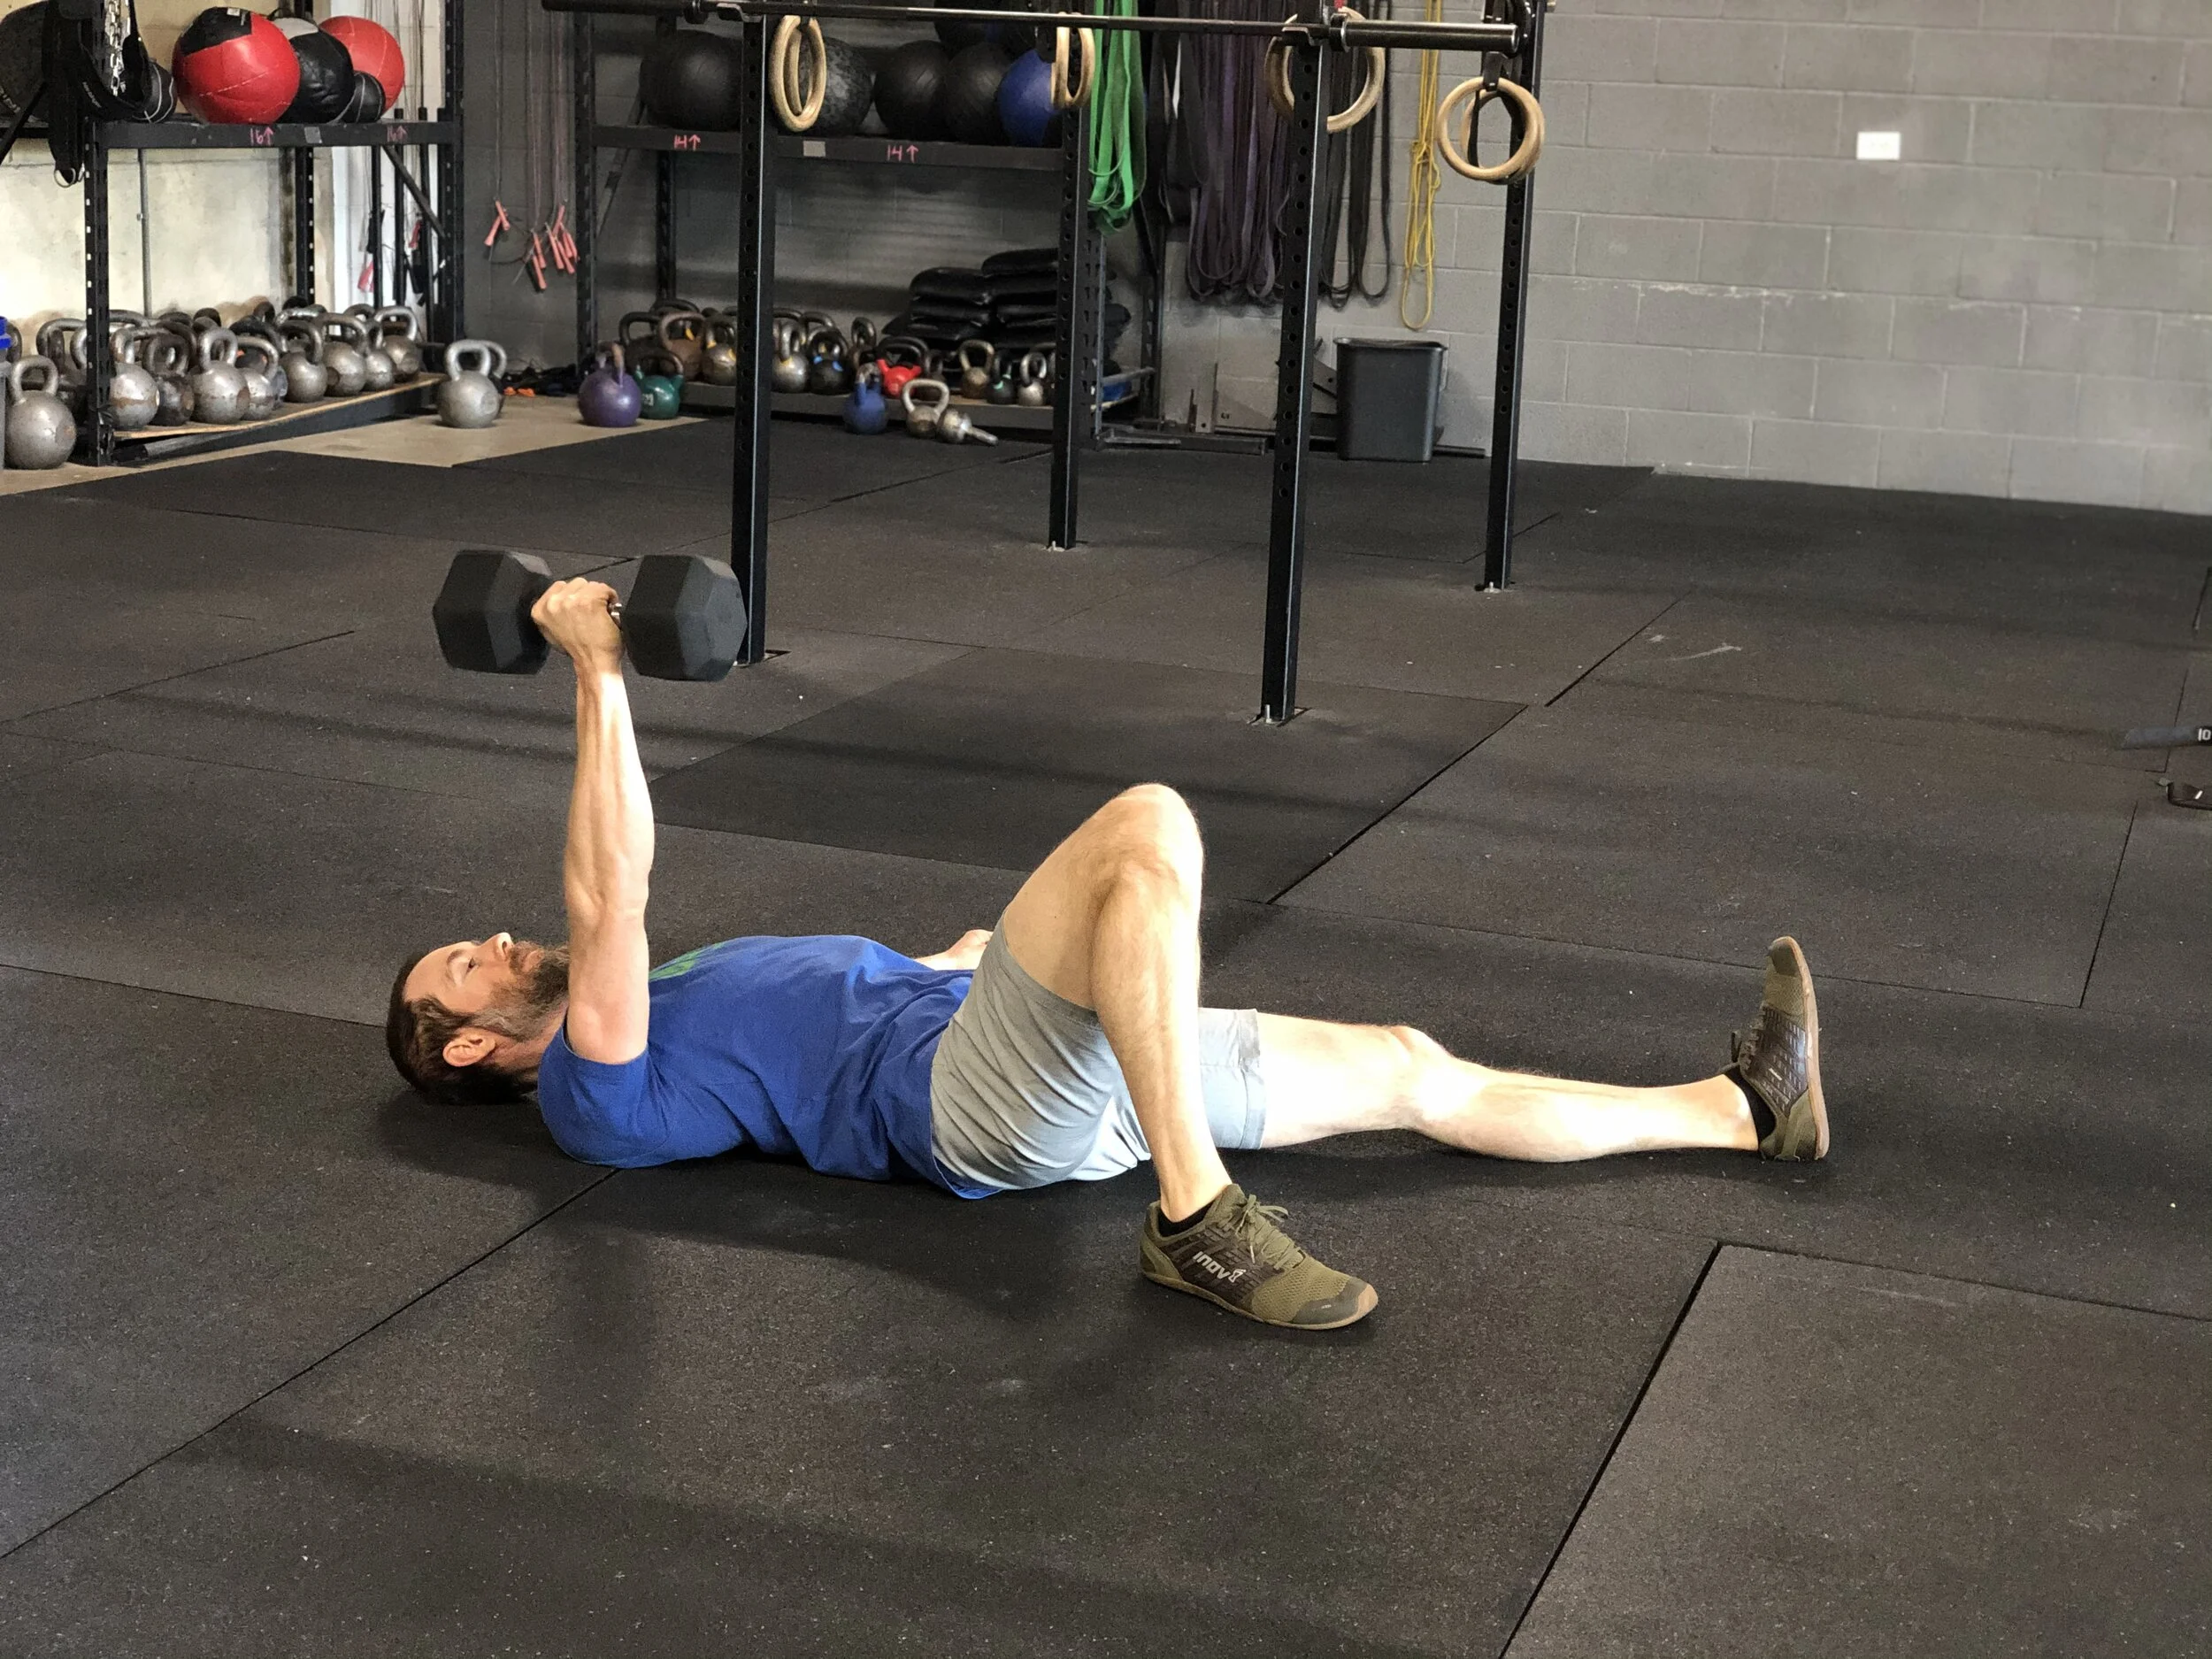
3. Now, get the back of your shoulder touching the ground. Once you develop the coordination of this and your shoulder joint is moving well, it will be easy to find this position. But, in the beginning it can be confusing to know if you are actually there, which is why we start with these first 3 steps. Each step should have a very distinctive feel, so if you are unsure, you are probably missing one of them.

4. Maintaining both your shoulder being in the back of its socket and external rotation, bring your elbow down to the ground. Common errors in this position are for people to let their shoulder come off of the ground looking like the shoulder position in step 2 instead of step 3 and a common error, like in the push-up, is for people to lose their externally rotated shoulder and have their elbows flair out to the side.

5. Press the dumbbell back up again maintaining the shoulder in the back of the socket (like step 3) and external rotation in the shoulder,so the dumbbell stays parallel with your body and your shoulders and back stay engaged.
Hands and Knees Arm Raise

1. Start in a tabletop pose with your core braced, your shoulders in the backs of their sockets, and twisting your hands into the ground like you would in a push-up to create external rotation in the shoulder (elbow-pits will be facing forward).

2. Maintaining your braced core, so your hips or shoulders don’t twist at all, slowly raise one hand off of the ground and continue externally rotating your shoulder, so you palm is facing upwards.

3. Maintaining your braced core and a straight, externally rotated arm, slowly raise your arm as high as possible and pause. Then, control the way down and switch to the other arm to repeat.
Push-up Plank Arm Raises

This is like the Hands and Knees Arm Raise above, but from a push-up plank making the stability harder. Start in a push-up plank with your core braced, your shoulders in the backs of their sockets, and twist your hands into the ground to create external rotation of the shoulder (elbow-pits forward). You can start with your feet a little wider than your normal push-up position and as you get better and better, you can work your feet back in together.

2. Without any twisting of your shoulders or hips, slowly pick one hand off the ground and raise one arm as high as possible and pause. Keep your arm straight and externally rotated, so your palm is facing the ceiling. Then, control the way down and switch to the other arm to repeat.
Push-up Plank Leg Raises

1. This like the Push-up Plank Arm Raise above, but we’ll be moving a leg instead of the arm. Start in a push-up plank with your core braced, your shoulders in the backs of their sockets, and twist your hands into the ground to create external rotation of the shoulder (elbow-pits forward).

2. Without any twisting of your shoulders or hips, slowly pick one leg off the ground and raise it to be even with your body and pause. Keep your core braced and your toes facing down to the ground, so we don’t rotate at the hip. Then, control the way down and switch to the other leg to repeat.
Push-up Plank Opposite Arm and Opposite Leg Raises

1. This like the Push-up Plank Arm Raise and the Push-up Plank Leg Raise above, but we’ll make it even harder and lift both an arm and a leg at the same time. Start in a push-up plank with your core braced, your shoulders in the backs of their sockets, and twist your hands into the ground to create external rotation of the shoulder (elbow-pits forward).

2. Without any twisting of your shoulders or hips, slowly pick one arm and the opposite foot off the ground. Raise your arm and leg to as even with your body as possible. Keep the external rotation through your arm, so your palm should be facing up. Keep your toes pointed to the ground, so there is no movement in the hip. Then, control the way down and switch to the other leg to repeat.
Bottom Up Kettlebell Presses

1. Start by holding a kettlebell upside down by its handle so you have to balance the weight more than usual. Your core should be braced and you should be externally rotating your shoulder, so your elbow and kettlebell handle are facing forward. Remember, in presses, we want your forearm to face the direction we want to apply force, so your elbow will be slightly in front of the kettlebell, so when you press you can have the leverage to press the kettlebell backwards a little bit to keep it centered over your base of support.

2. Maintaining a braced core and the externally rotated shoulder position, press the kettlebell overhead and pause. Then control the way back down. You’ll notice holding the kettlebell upside down will add an additional stability element to the one-arm press.
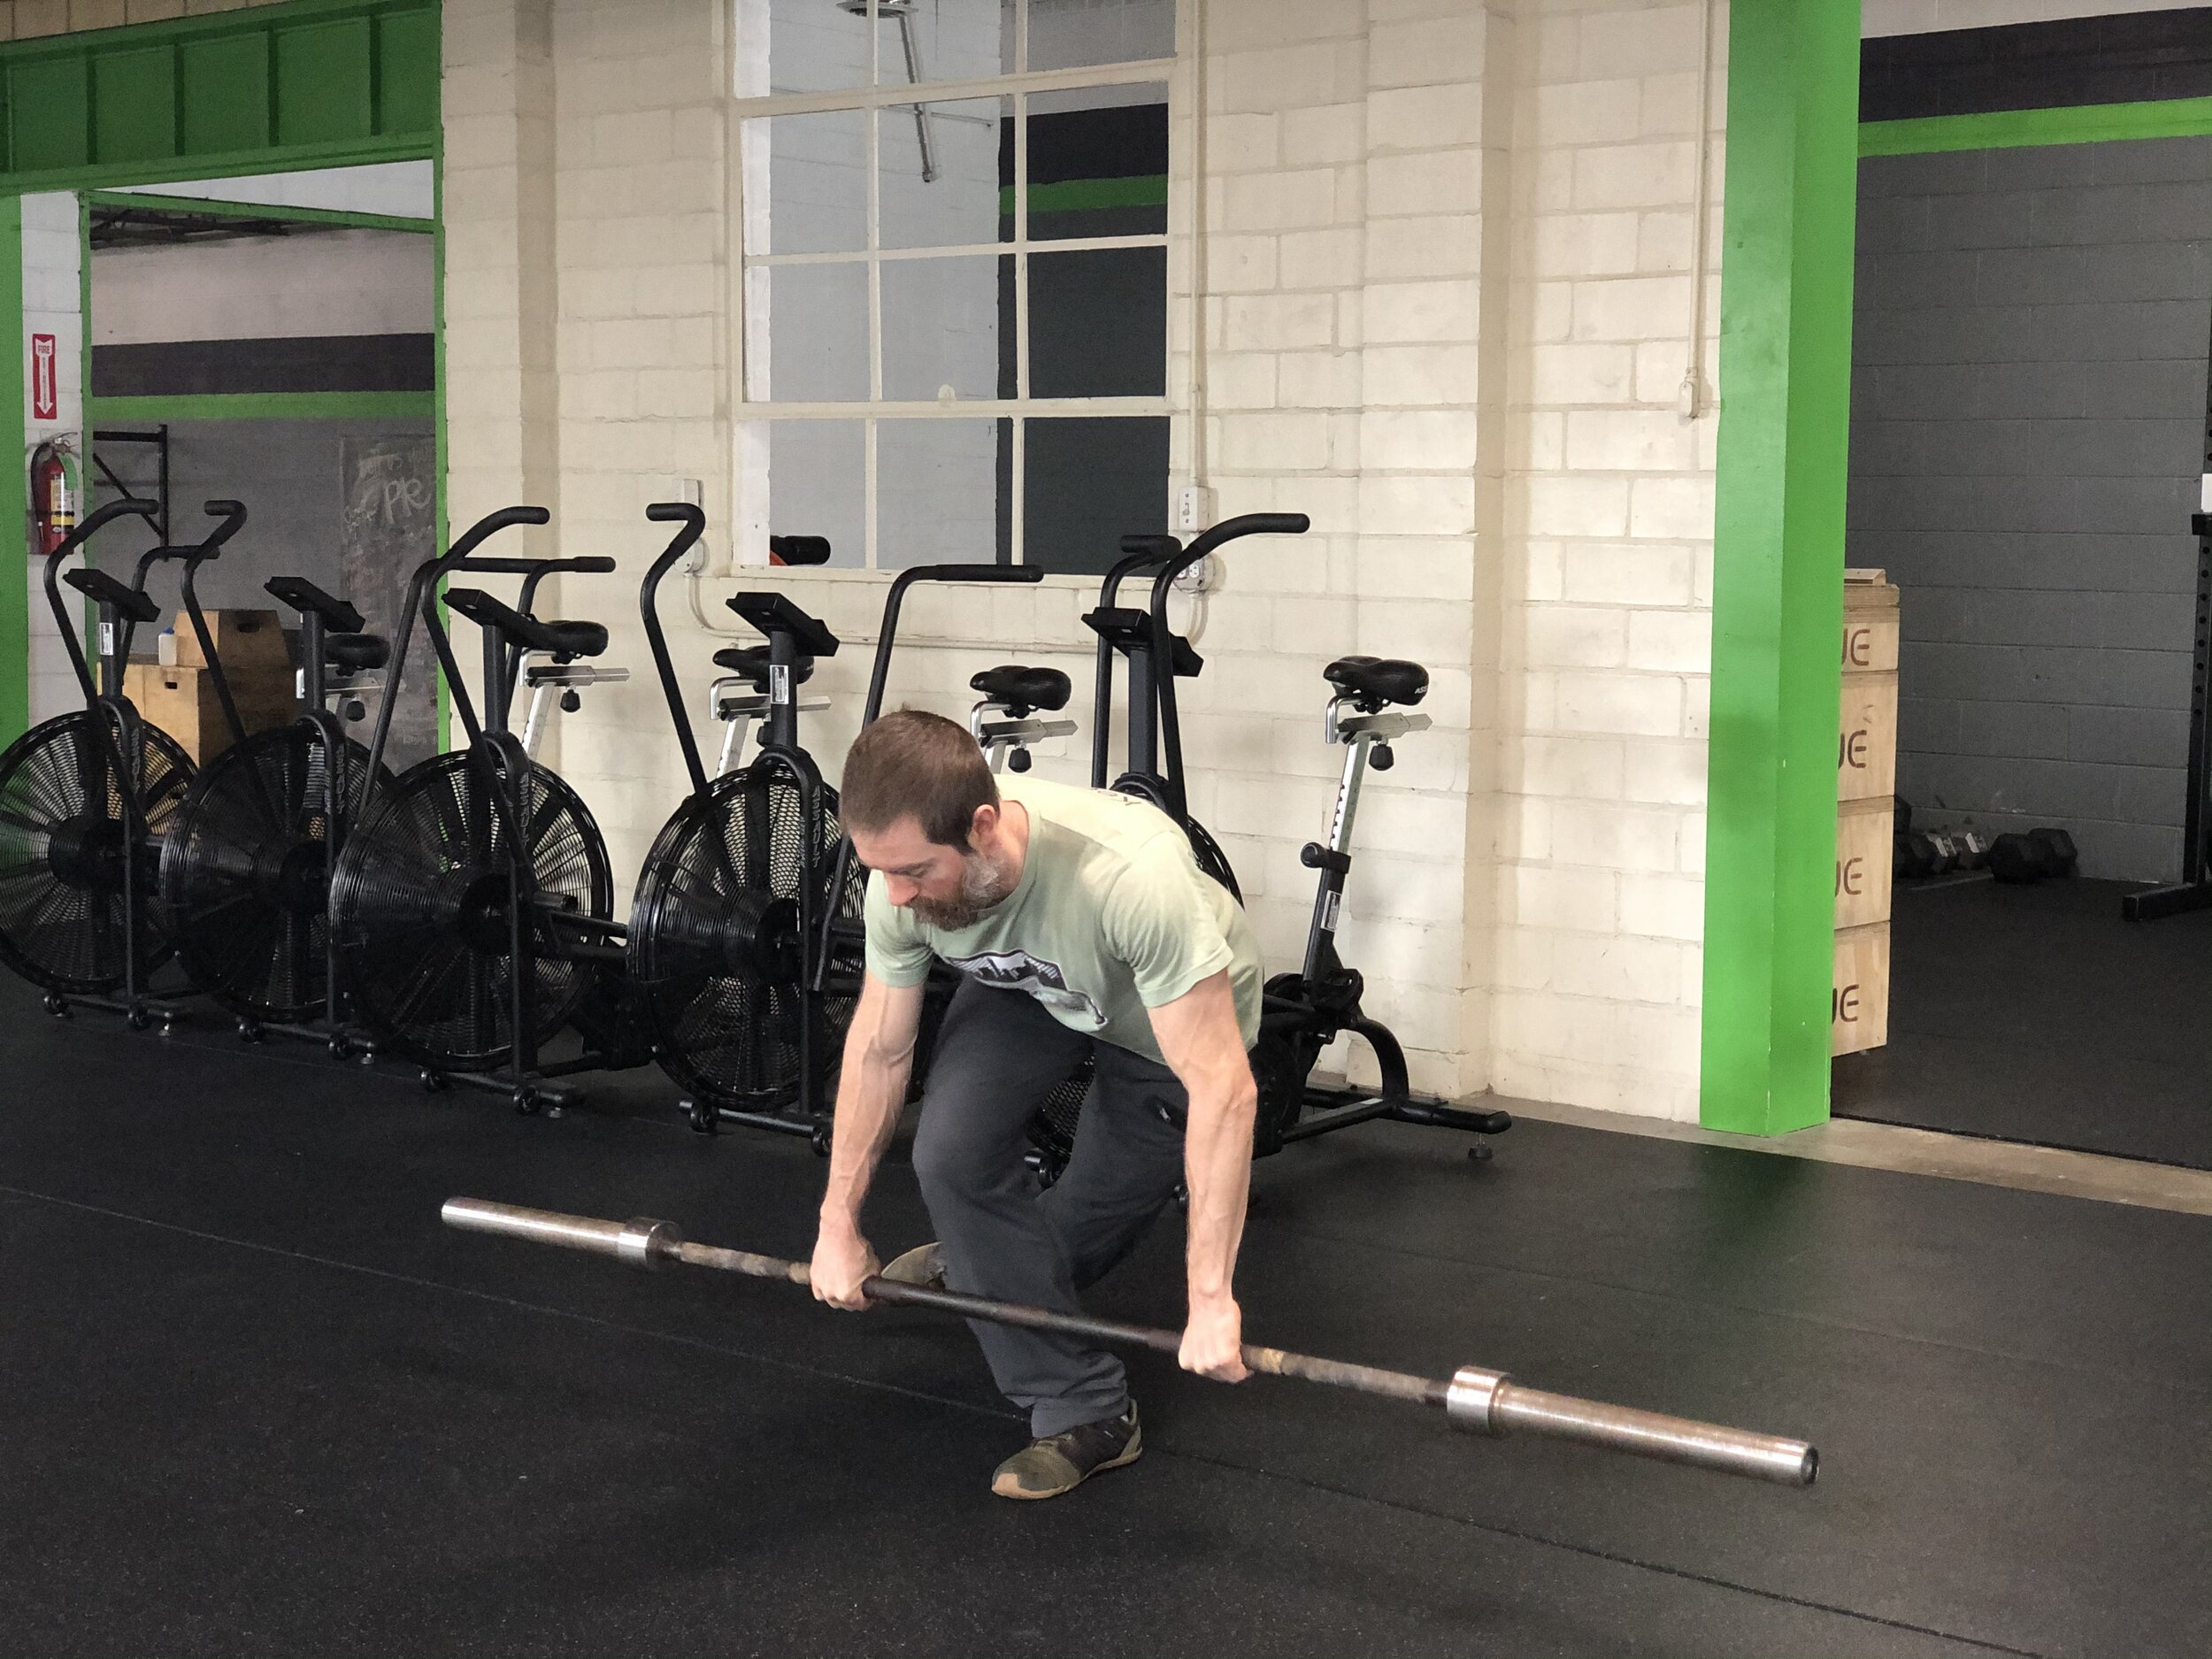
One-Legged Deadlifts and Bottom-up Kettlebell Press Prep Circuit
Turkish Get-ups
You can use many things for Turkish get-ups, dumbbells, kettlebells (you can also hold the kettlebell like in the bottom up kettlebell press above), barbells, medicine balls, and some people even have other people curl into a ball, so they can do a Turkish get up with a person!!! In the Turkish Get-up, especially when we are doing it for stability, if you feel shaky, you can spend as much time as you need to in any of the below poses, so as you are going, if you get out of whack, just stay in that pose until you can gain the control back before moving to the next pose.

1. Start by laying on your back with:
a braced core,
a dumbbell pressed overhead with your shoulder in the back of its socket and with external rotation, so the dumbbell is parallel to your body.
the same side foot of the arm holding the dumbbell will be tucked near your butt with the other leg straight and a little out to the side. This foot will stay planted during the entire movement.
the opposite arm out at a 45 degree angle from your body.
keep your gaze up and through the dumbbell to help with stability.

2. Maintain your externally rotated shoulder position (dumbbell parallel to your body) and your braced core as you drive the dumbbell upwards and make your way to your opposite elbow.

3. Maintain your externally rotated shoulder position (dumbbell parallel to your body) and your braced core as you press from your elbow to your hand.

4. Maintain your externally rotated shoulder position (dumbbell parallel to your body) and your braced core as you press through your hand and lift your hips high in the air. If you are struggling with getting to your knee (in the next step) this is the step that is typically skipped and what gets people stuck or doing weird things.

5. Maintain your externally rotated shoulder position (dumbbell parallel to your body) and your braced core as you bring your leg under you, so you are supported on your hand and your knee.

6. Maintain your externally rotated shoulder position (dumbbell parallel to your body) and your braced core as you come up and are not supported on your knee in a lunge shape.

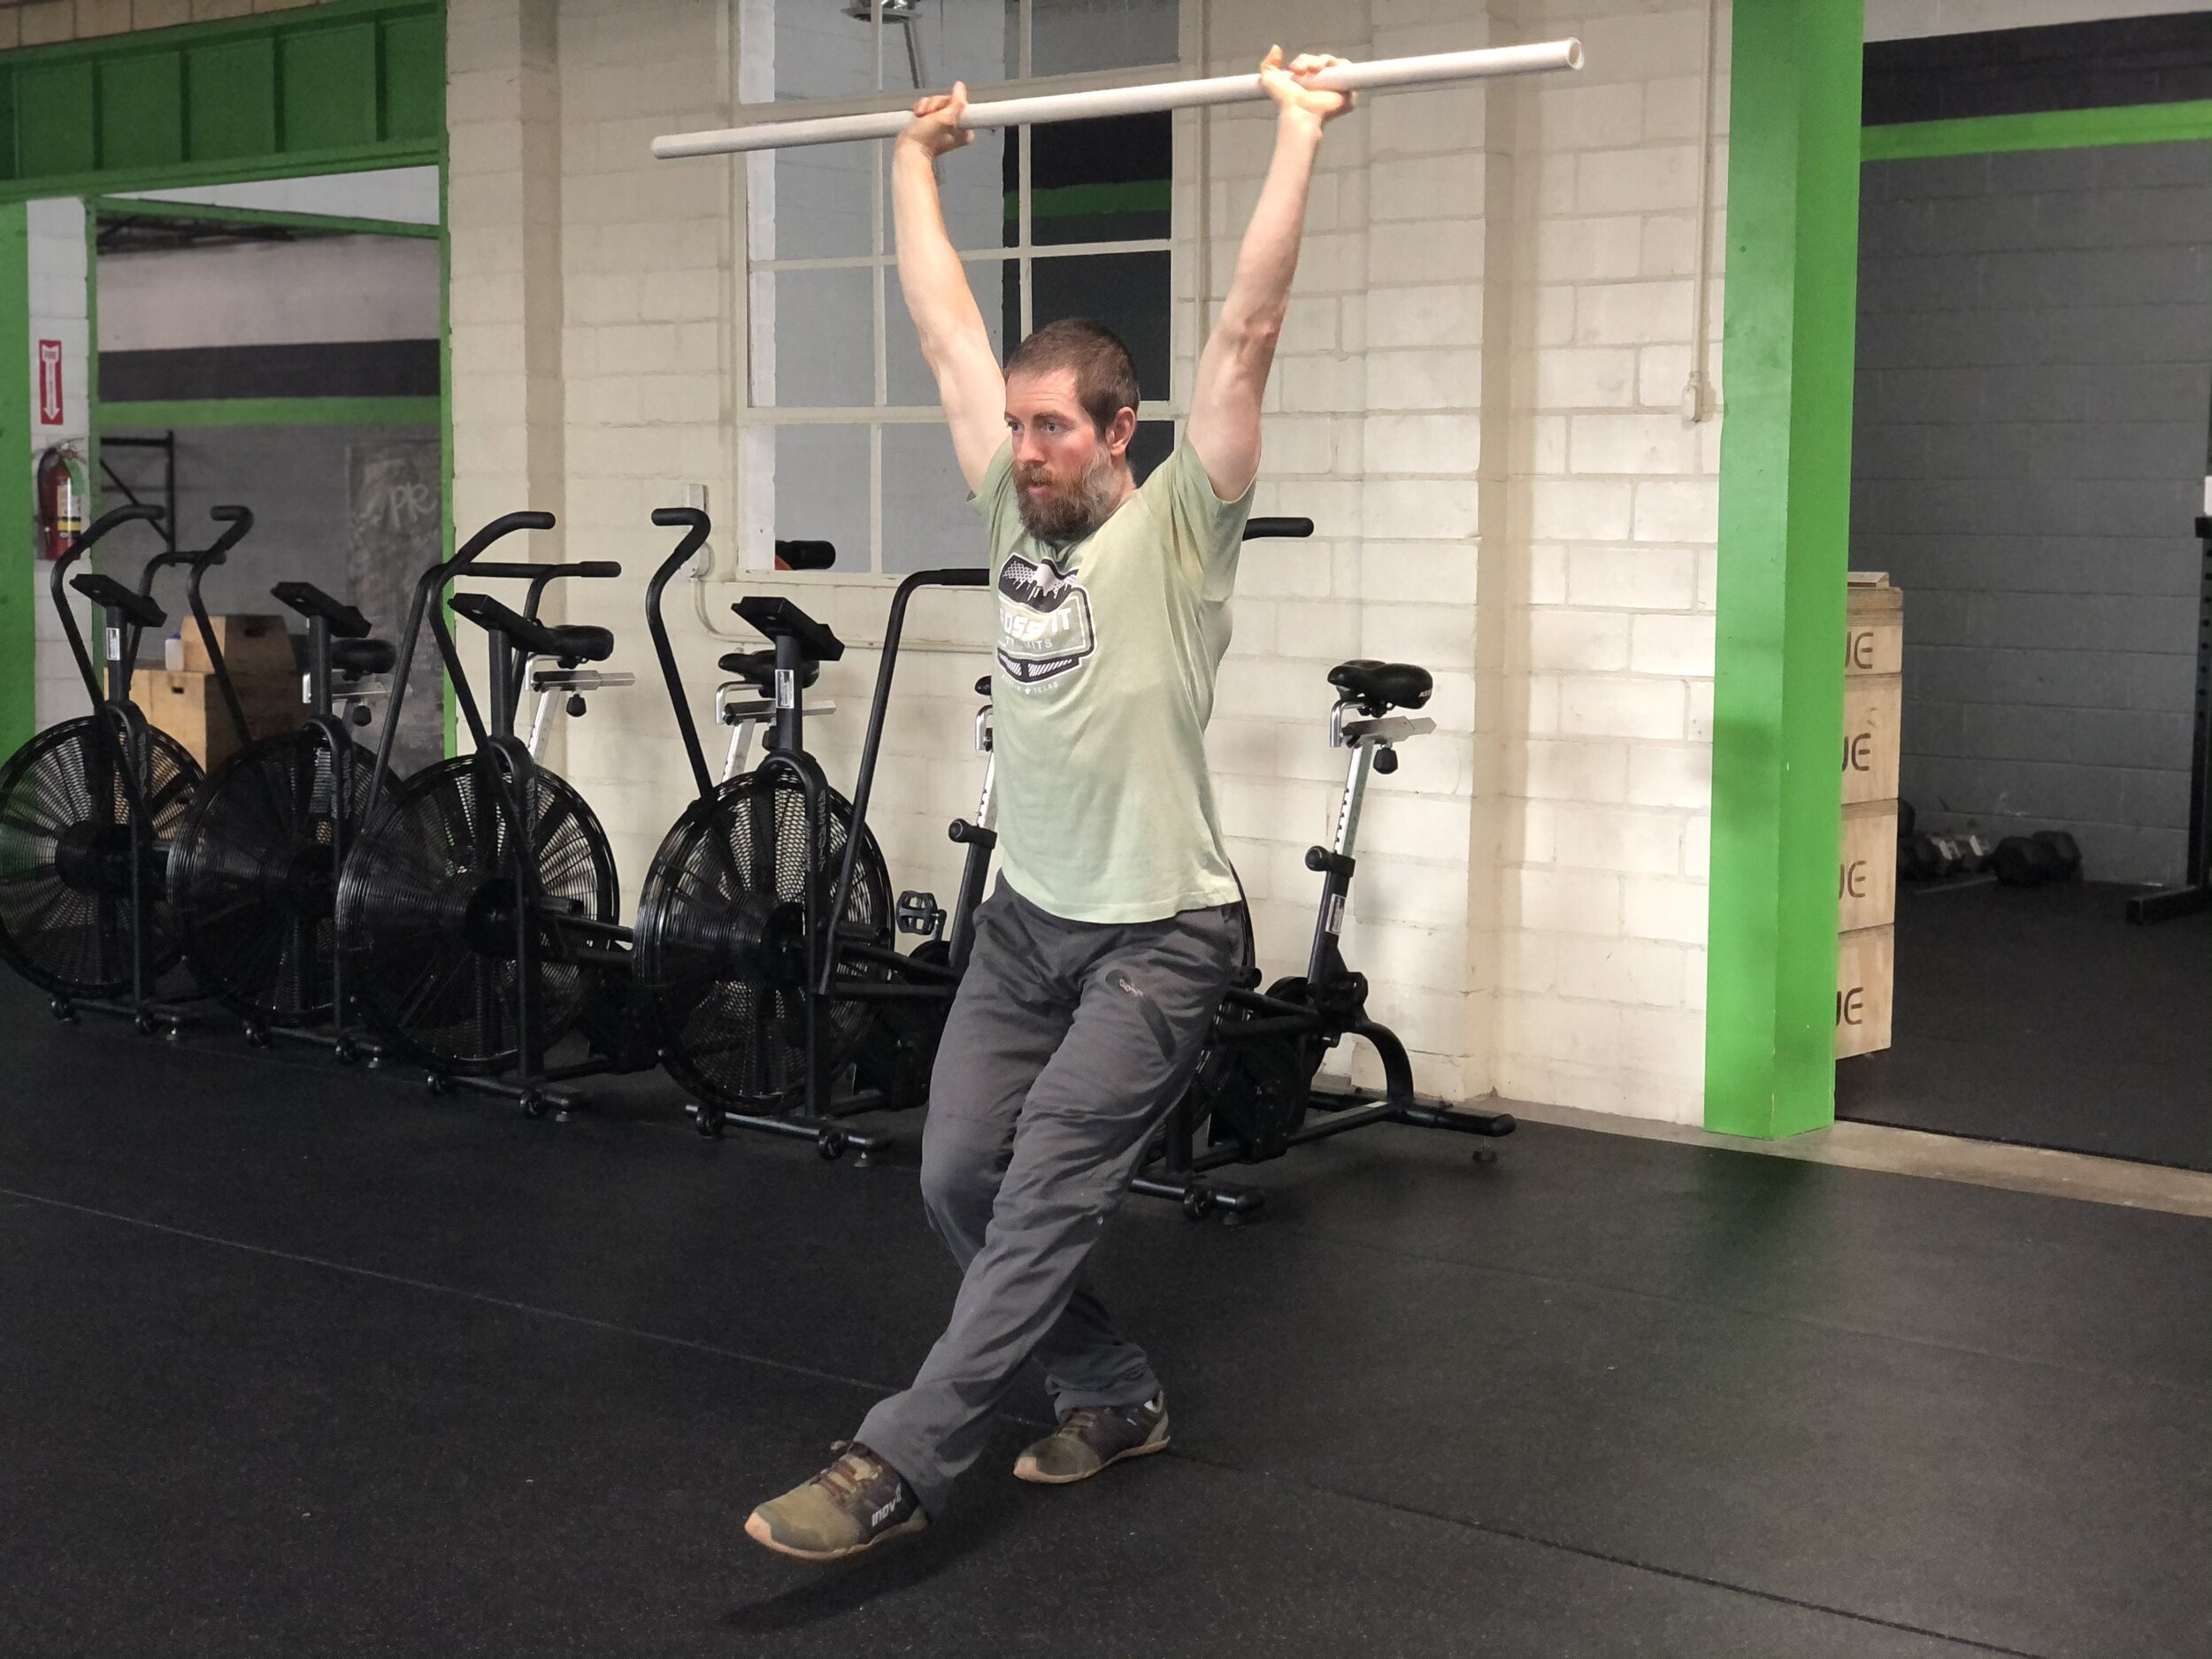
7. Maintain your externally rotated shoulder position (dumbbell parallel to your body) and your braced core as you stand up onto your front leg from your lunge so you are standing up straight with the dumbbell overhead.
You will repeat the steps exactly, but in reverse to go back to the ground to complete the rep.
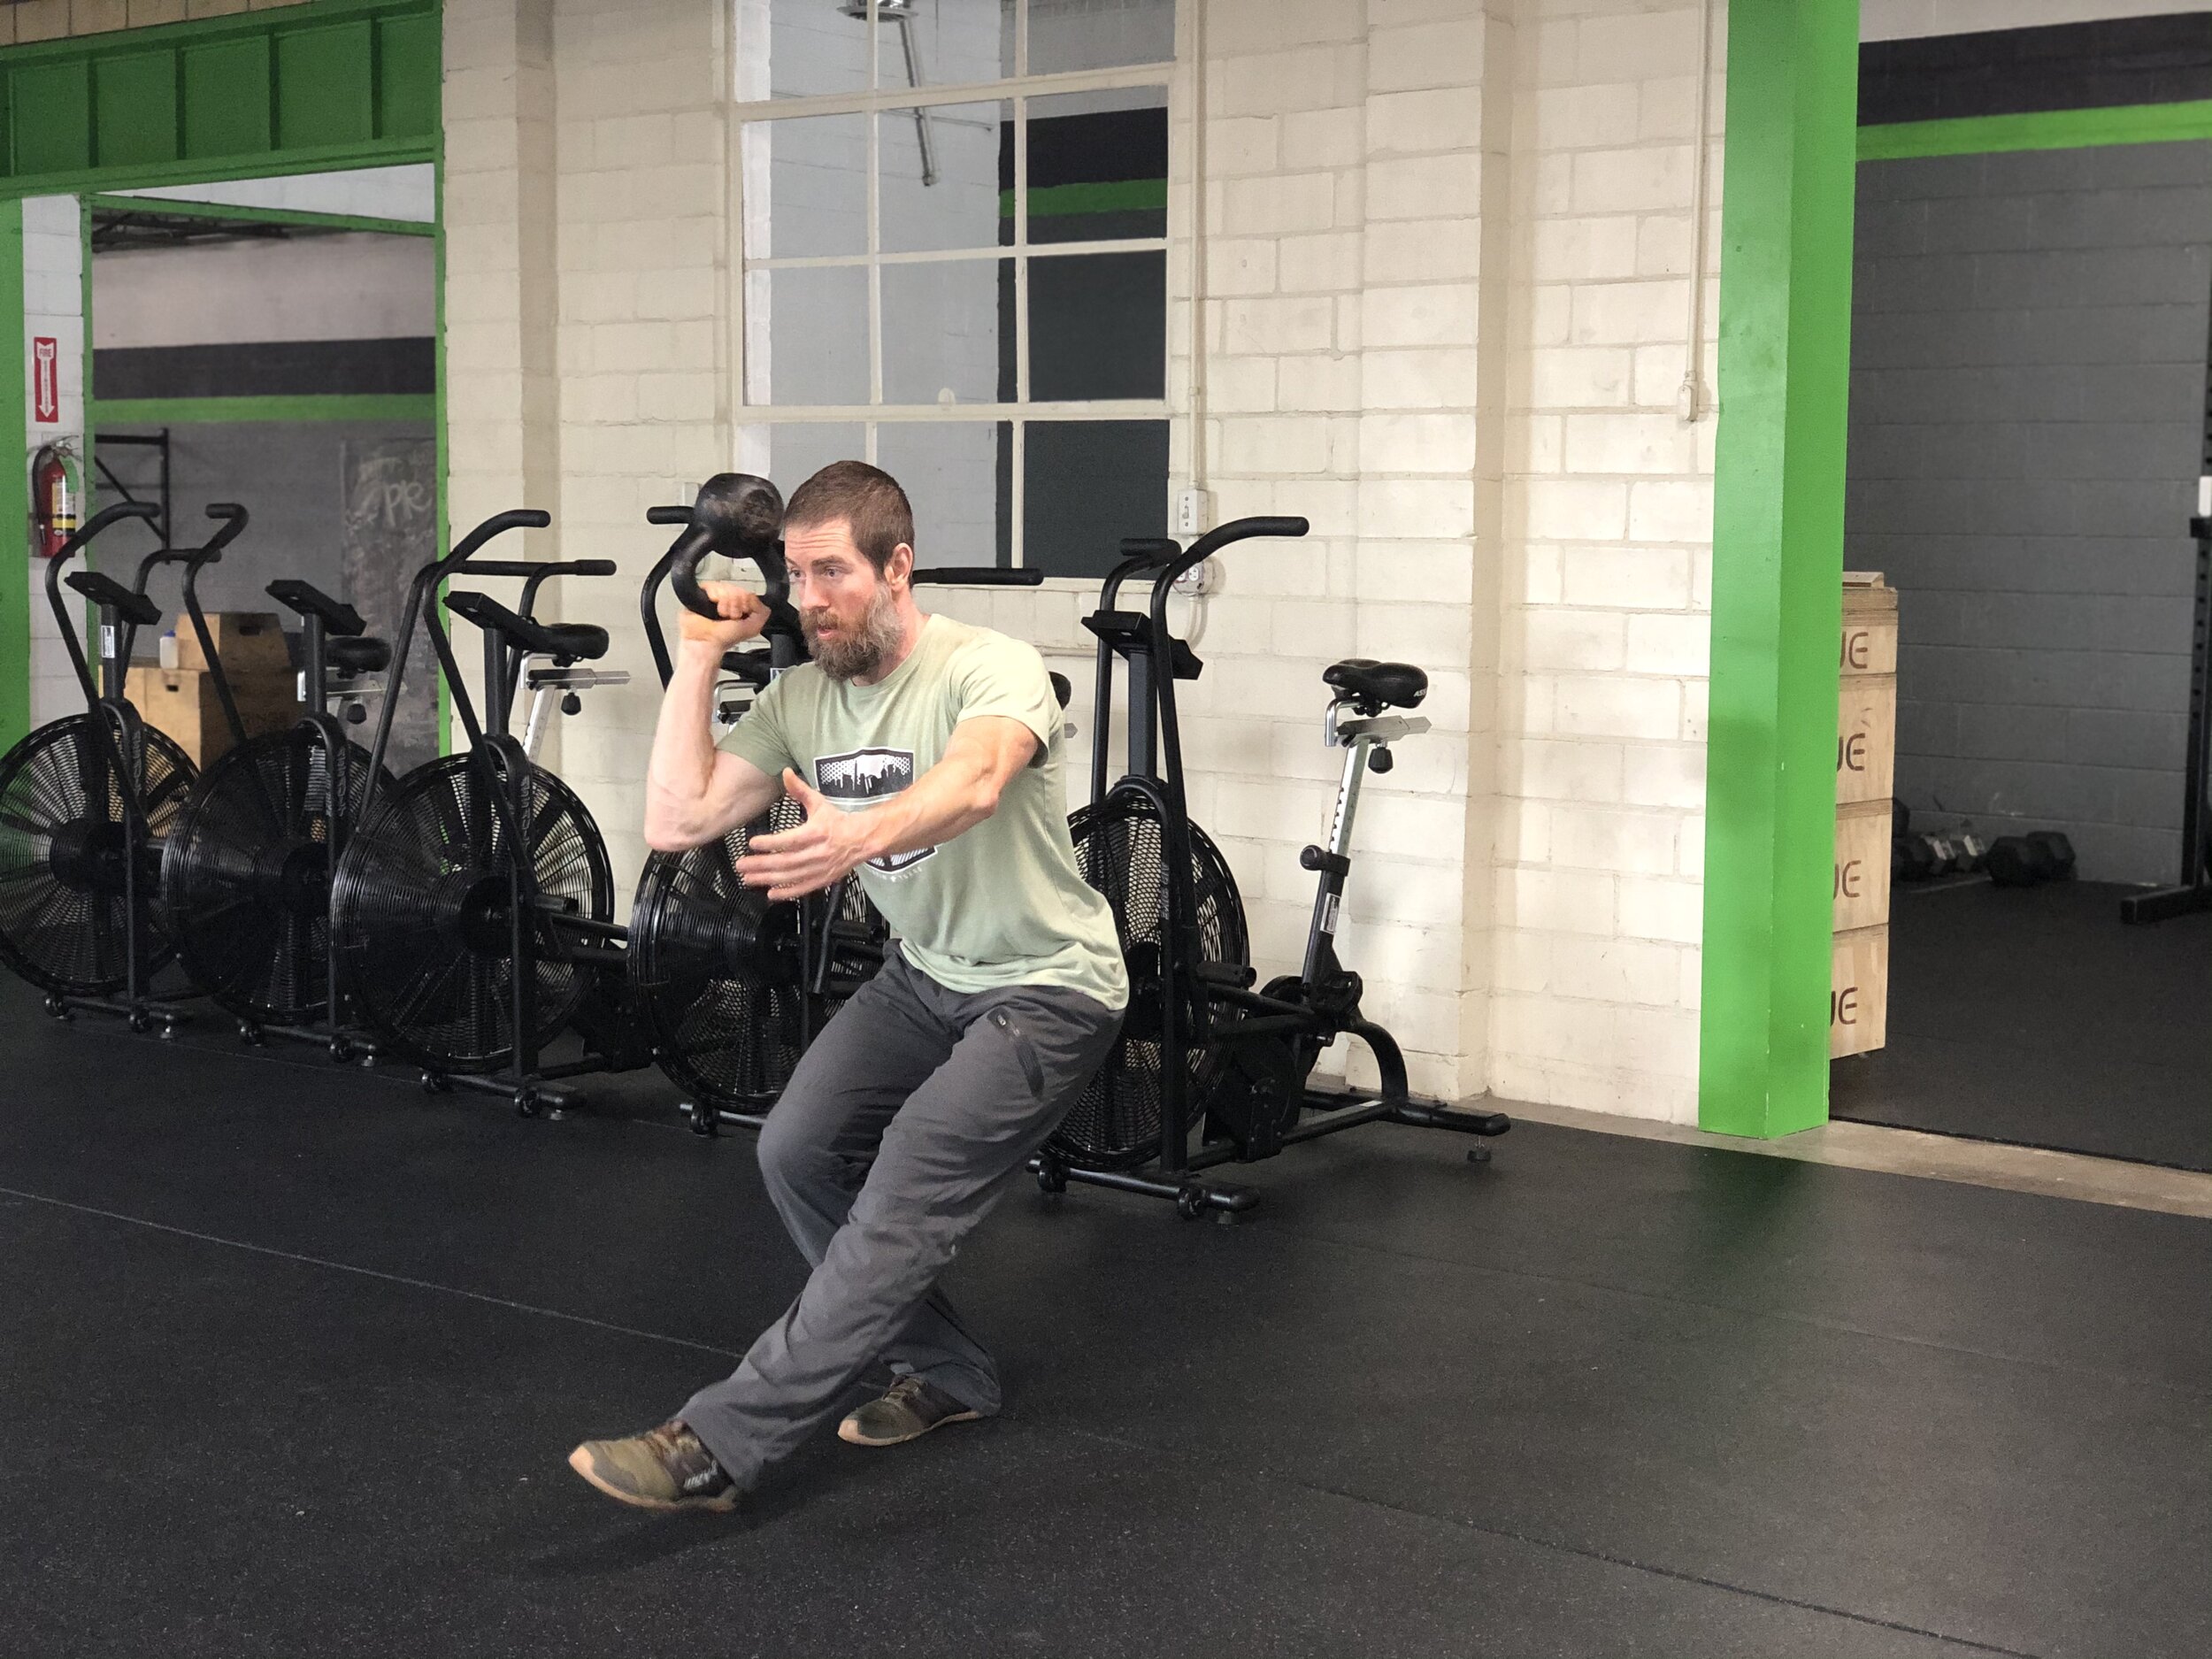
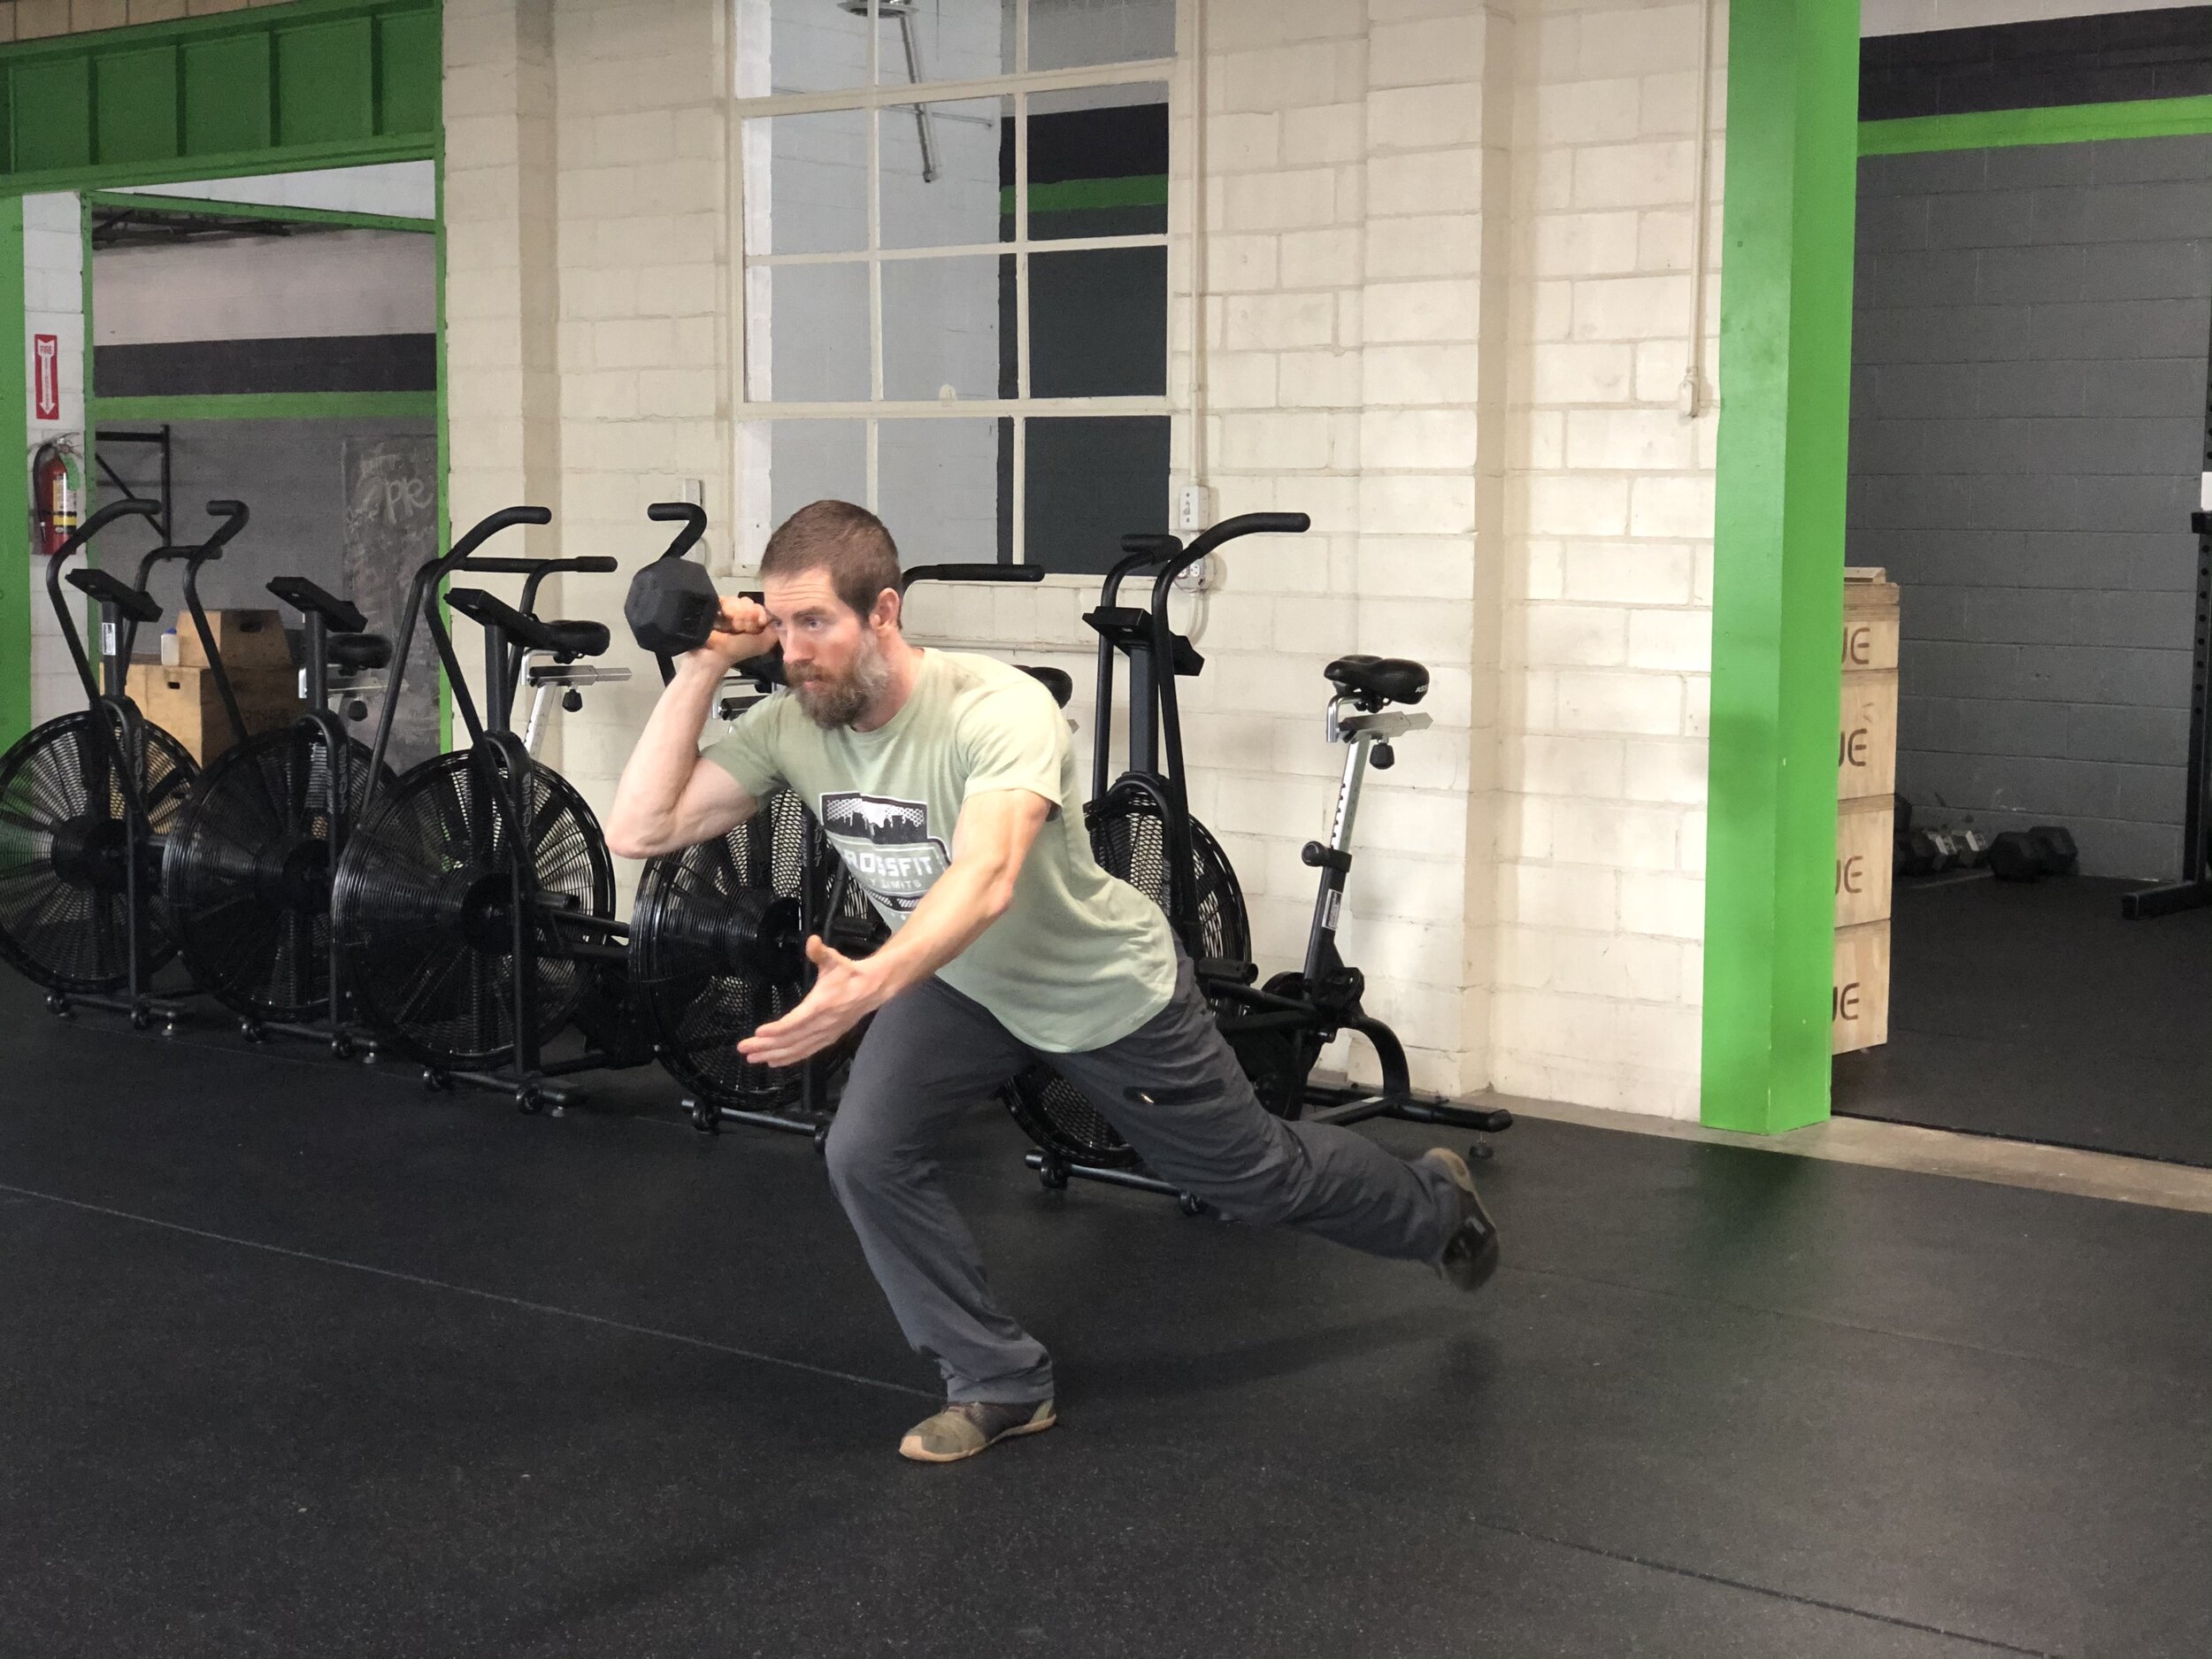
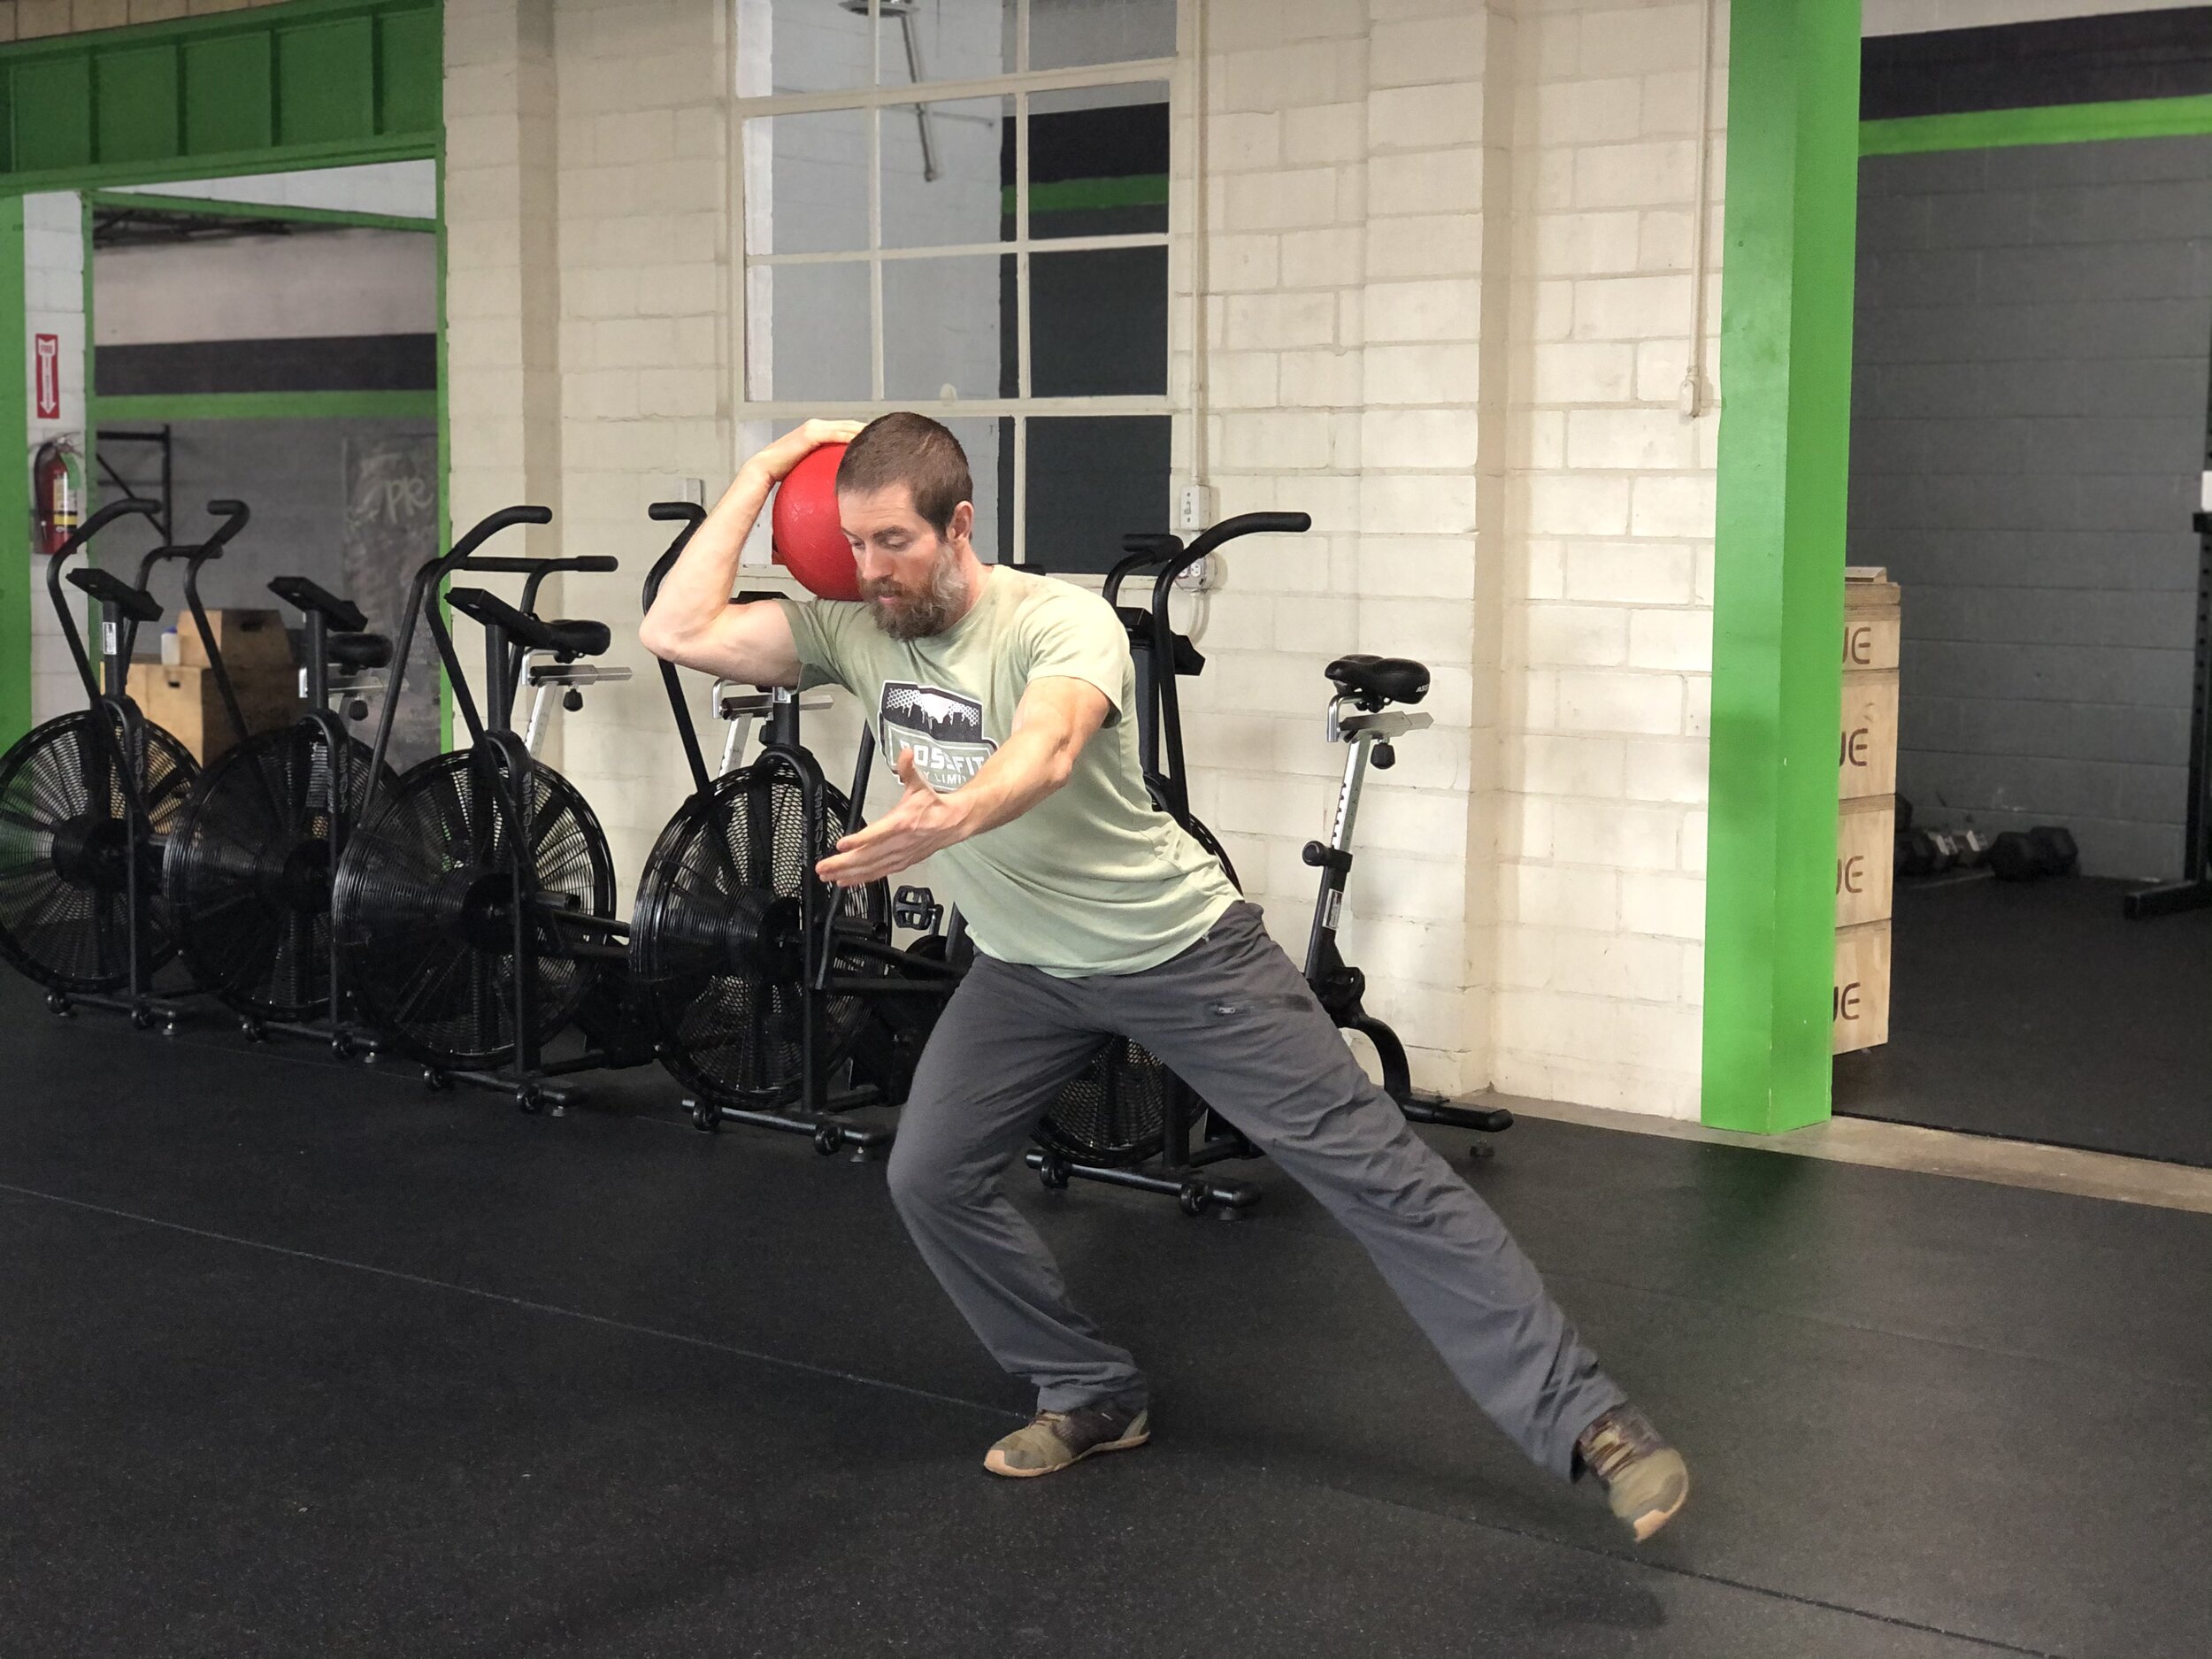
Medicine Ball Curl and Press
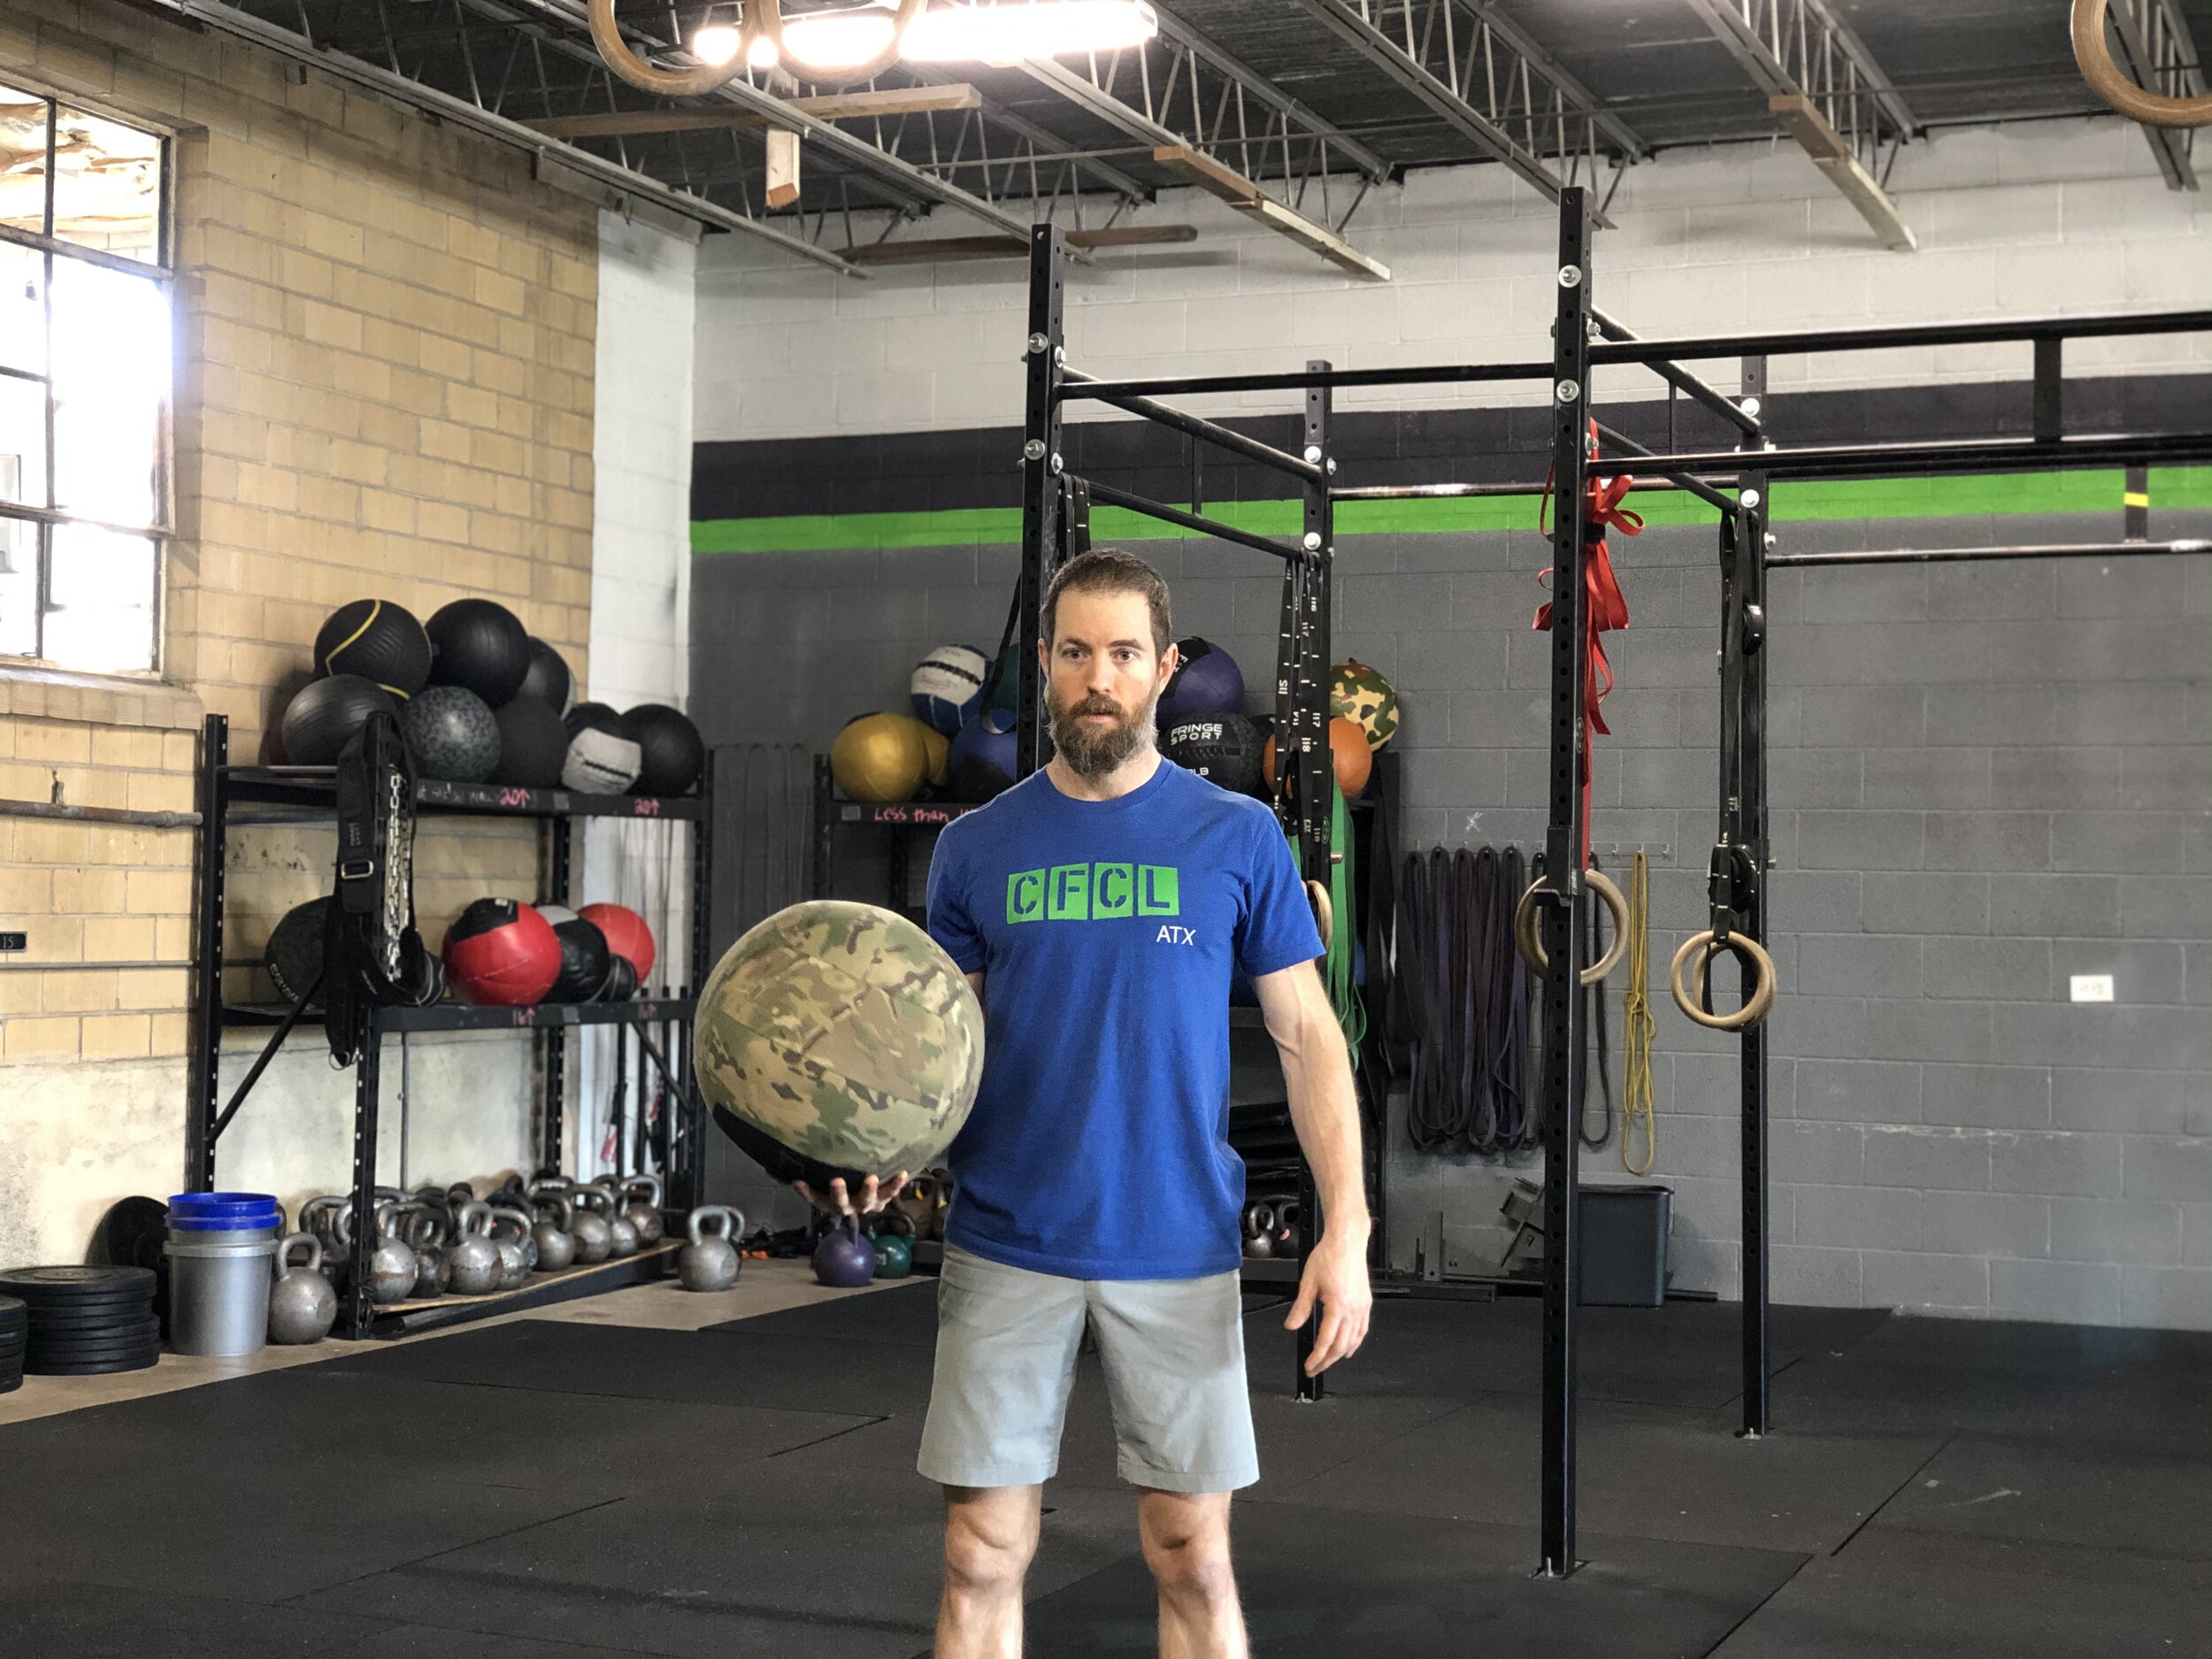
Stand with a braced core and hold a medicine ball in the palm of your hand with an externally rotated shoulder (like we would rotate in a push-up), so your elbow is tucked into your side.

2. Maintaining your braced core and externally rotated shoulder, curl the medicine ball and rotate until you are in a press position with your elbow facing forward and pause.
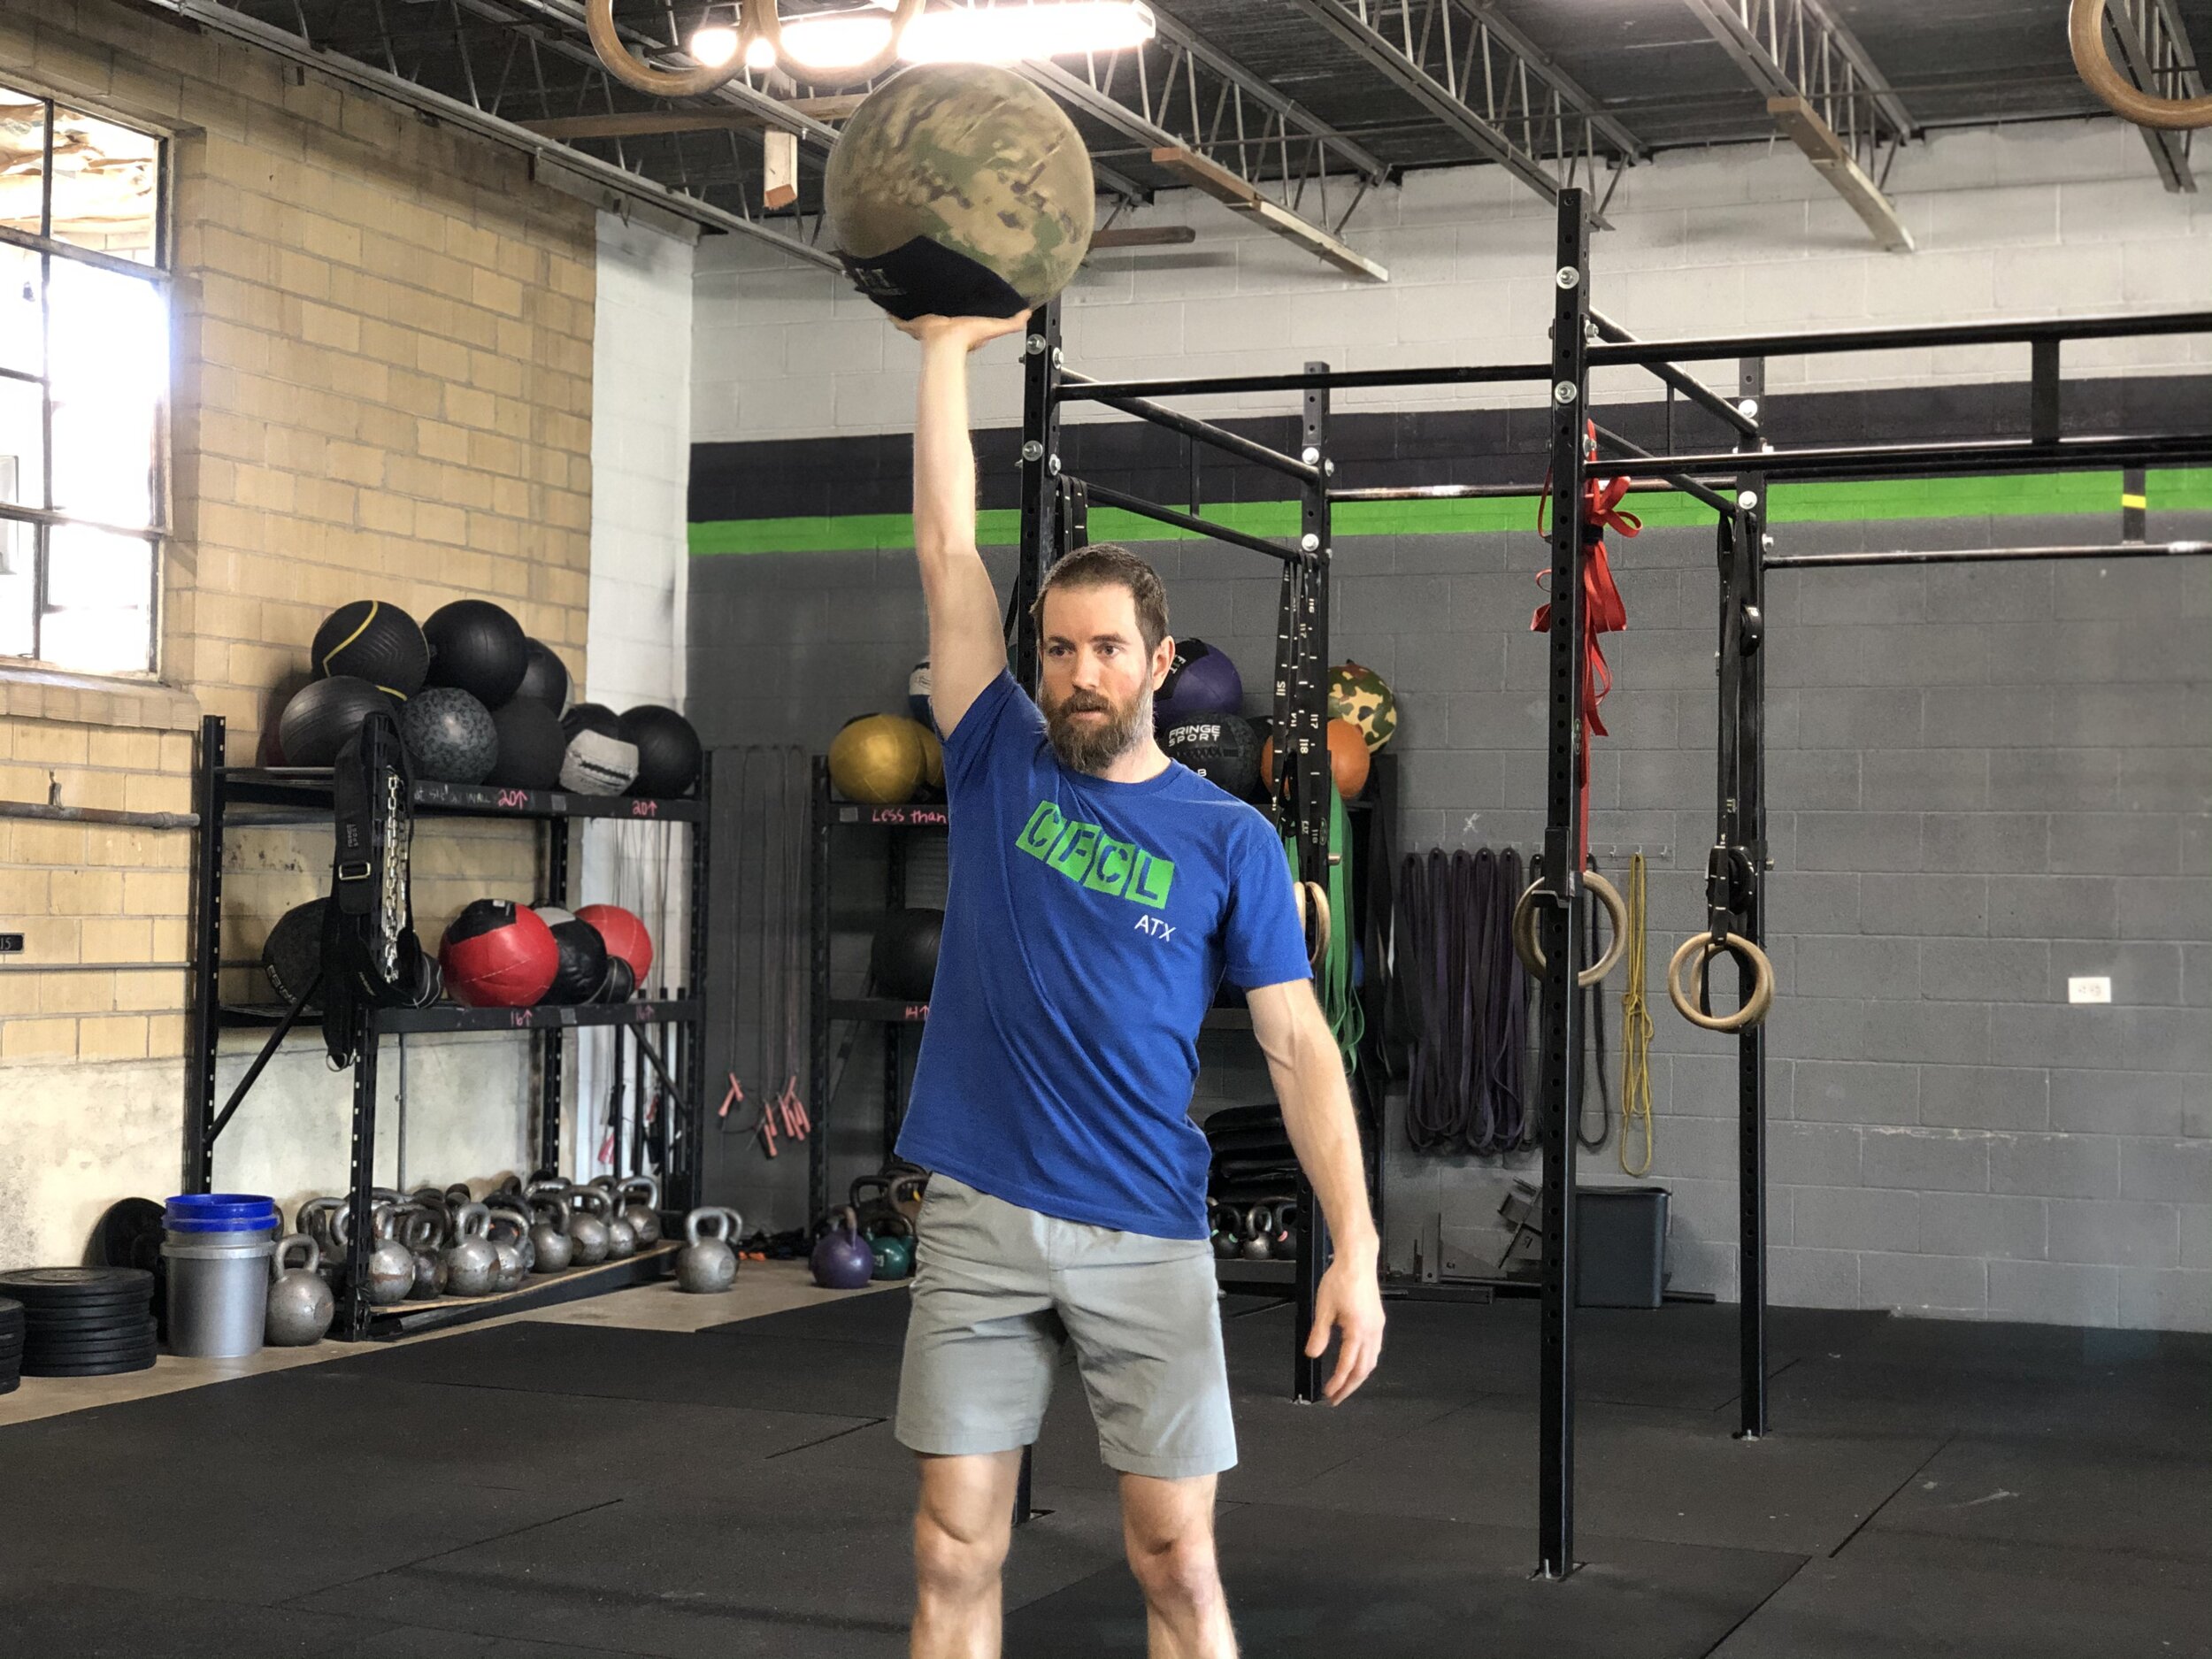
3. Maintaining your braced core and externally rotated shoulder, press the medicine ball overhead and pause. Come down the same way pausing at each pose.
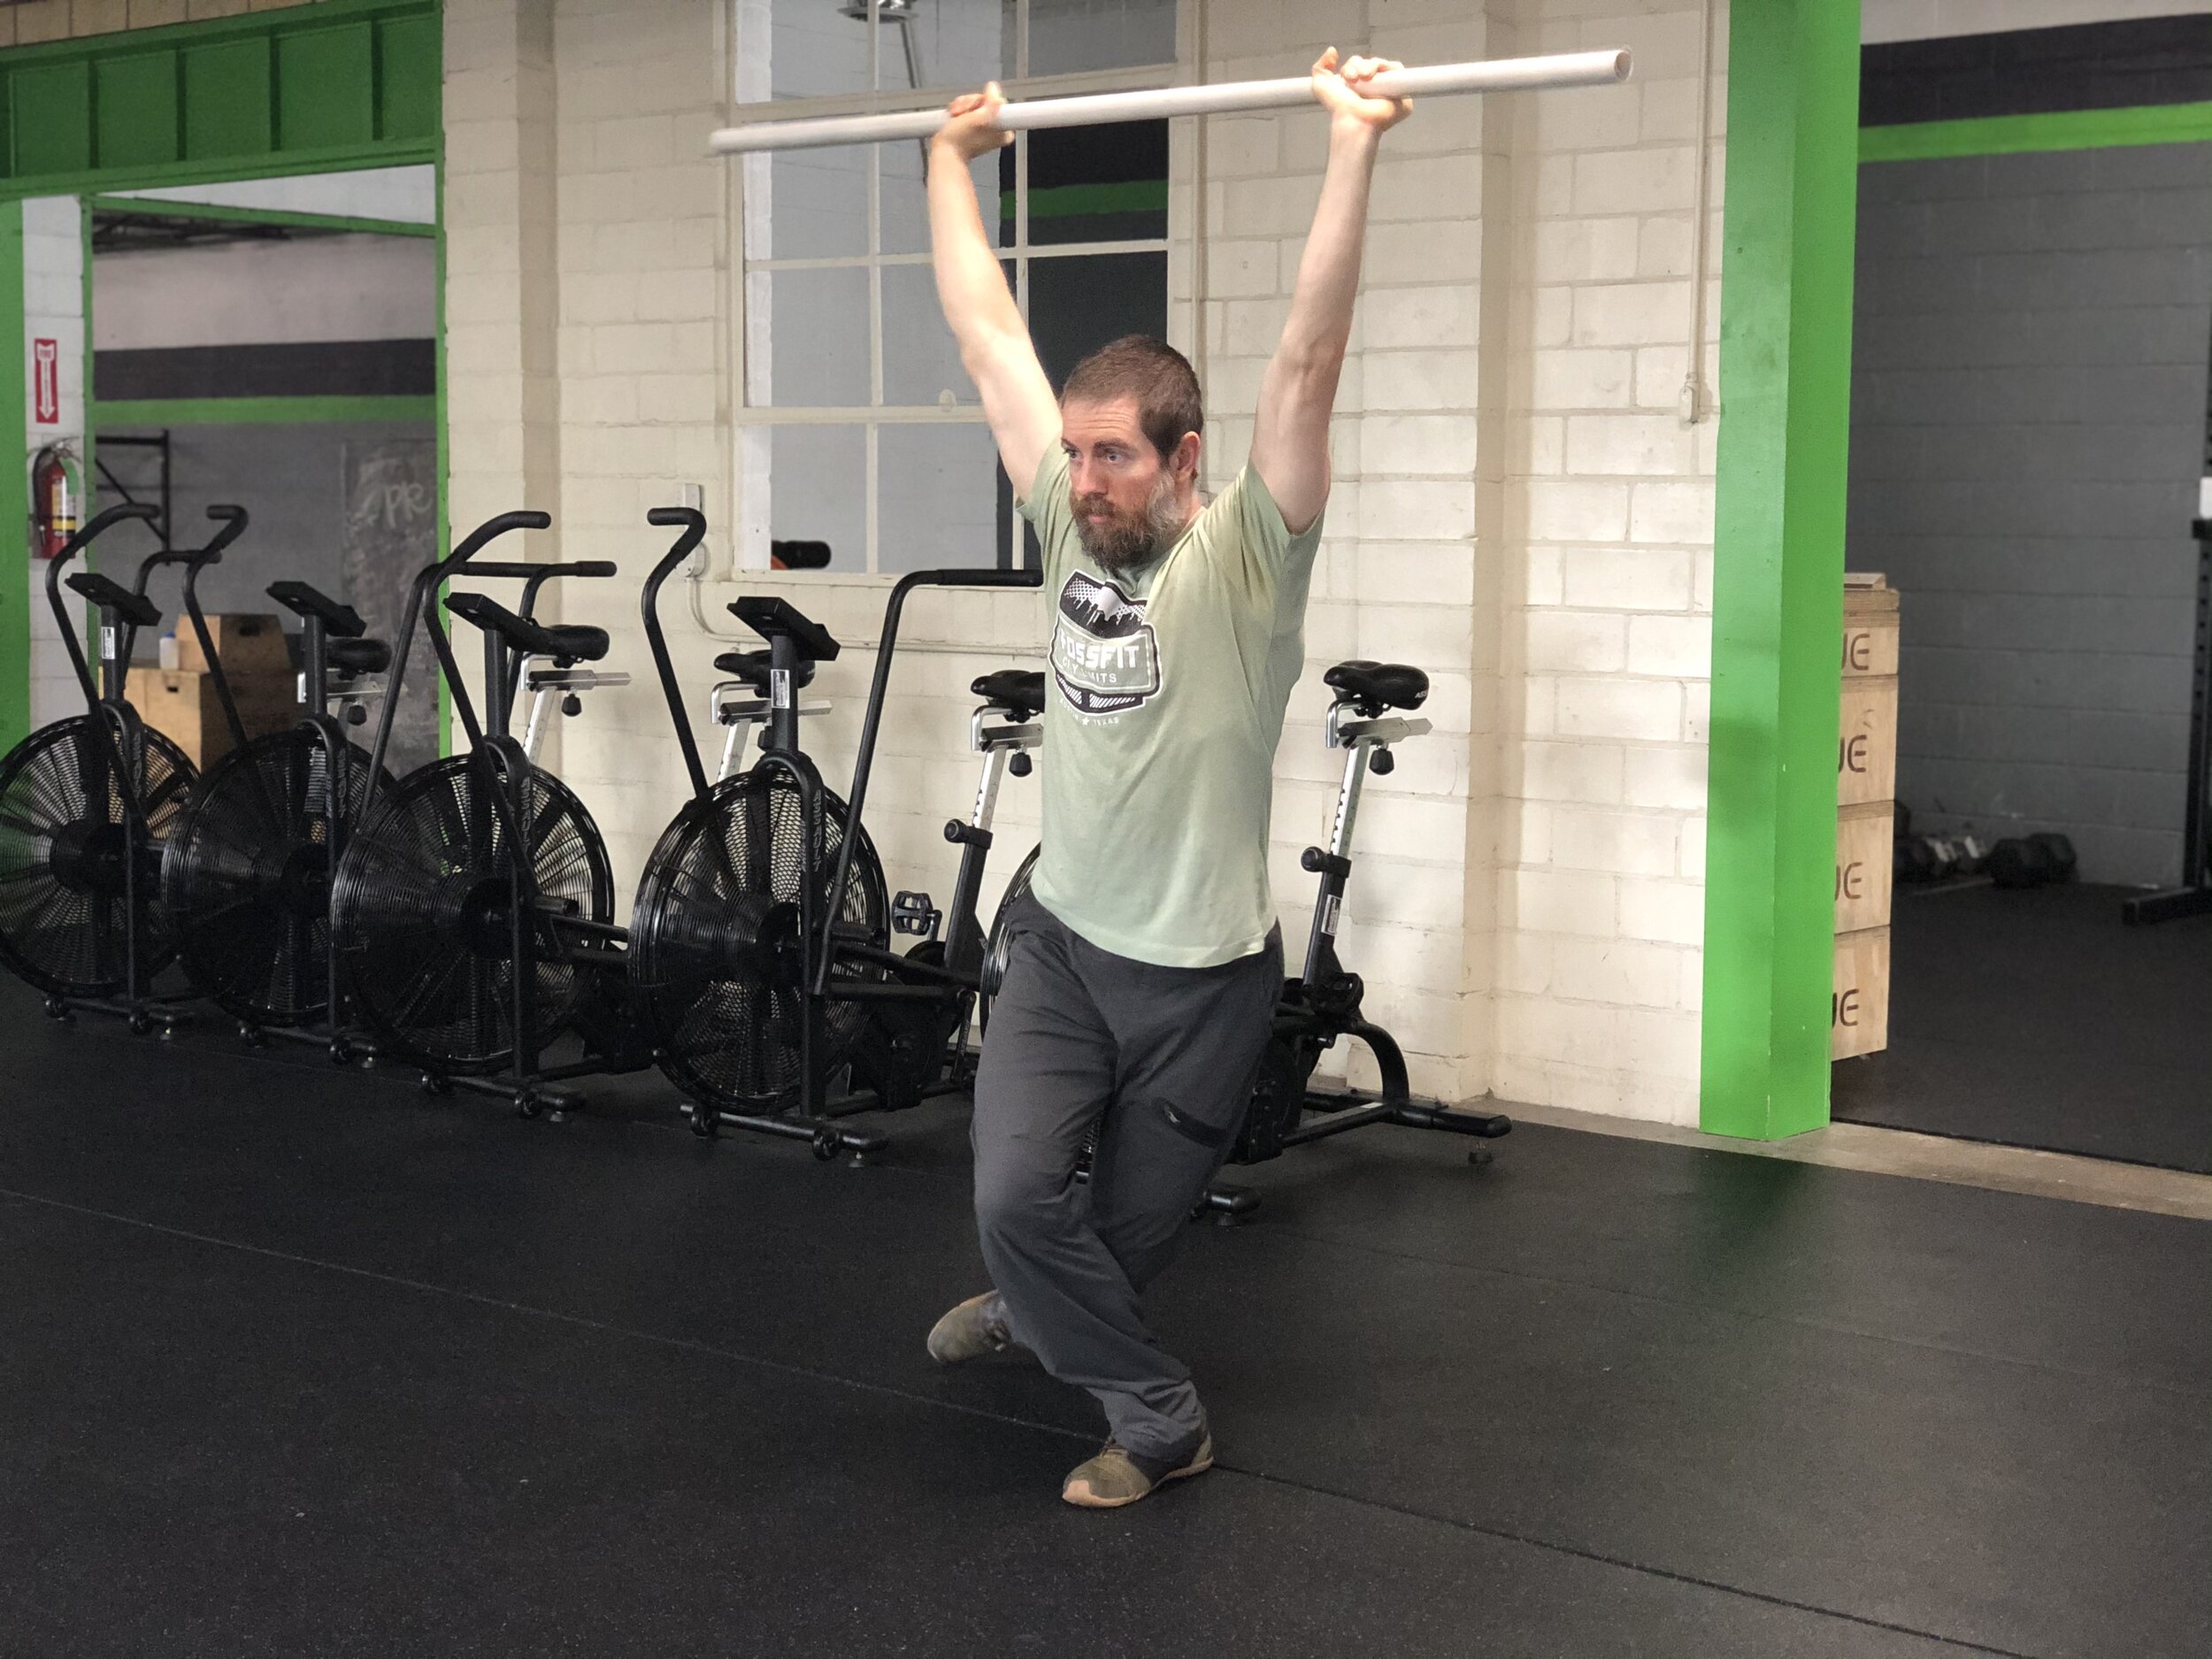
Presses with a Foot up on a Box
Split-Stance Hip Extension Isometric Hold
Hollow Position Progressions
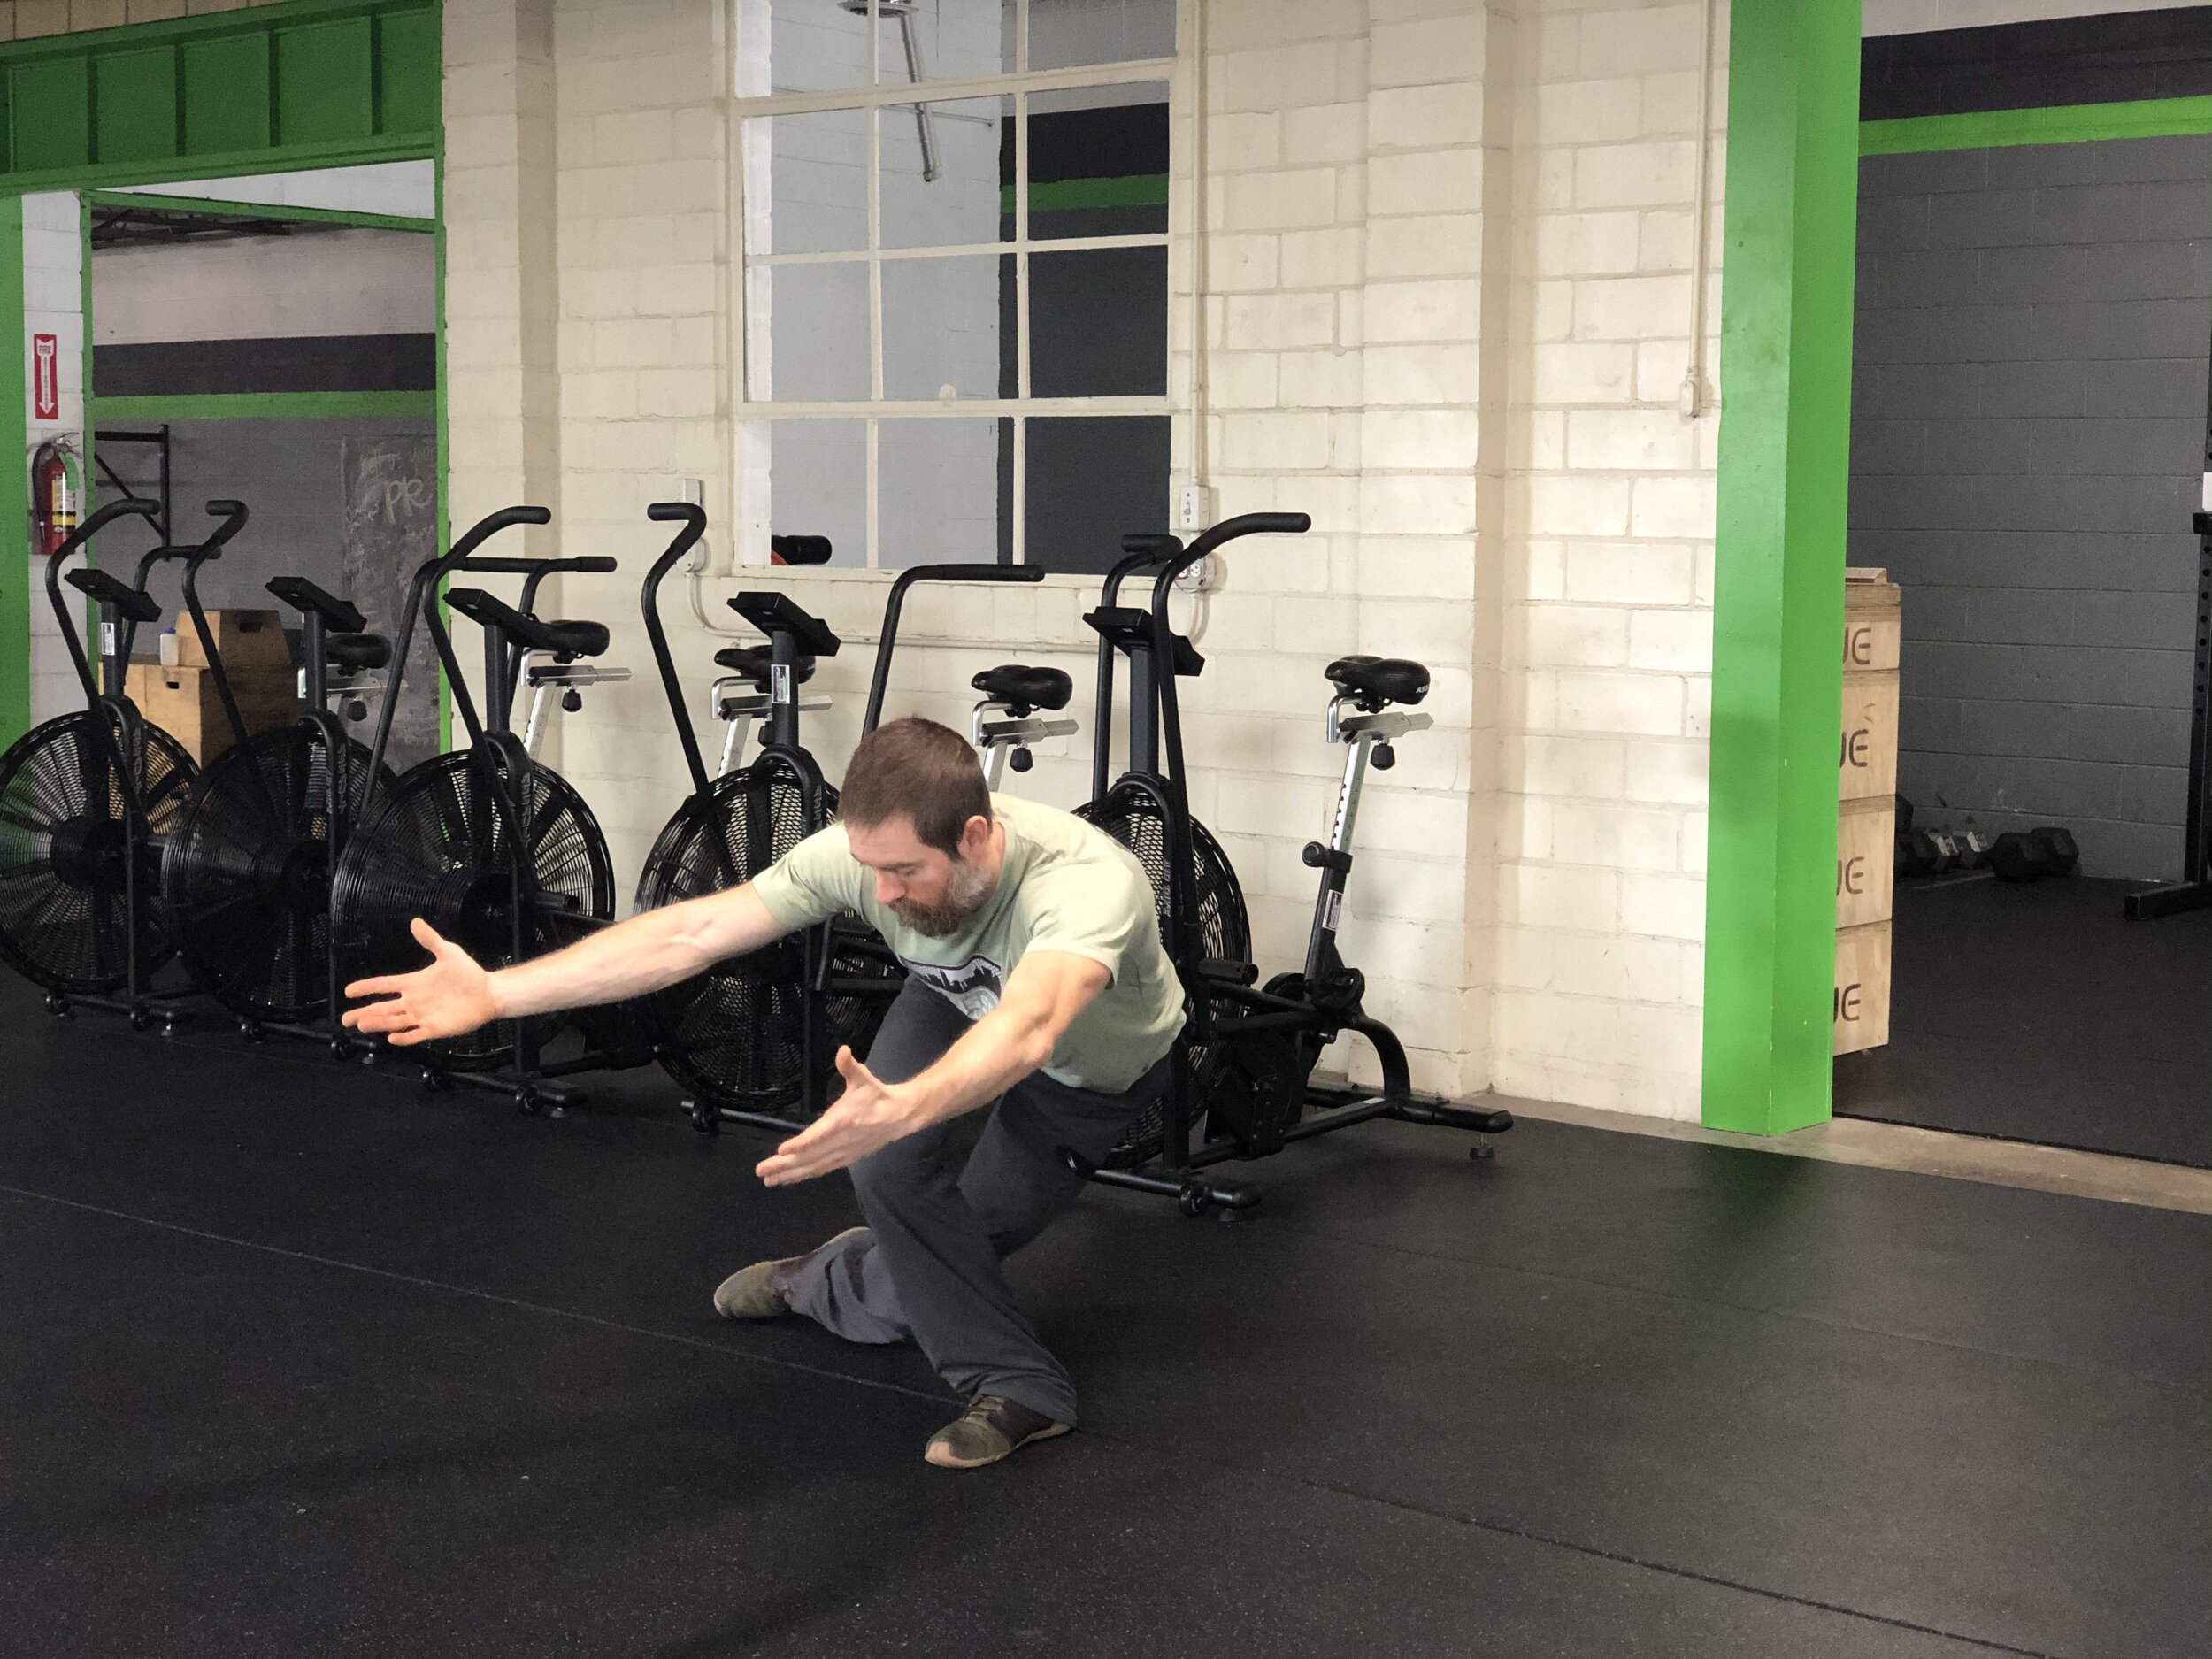
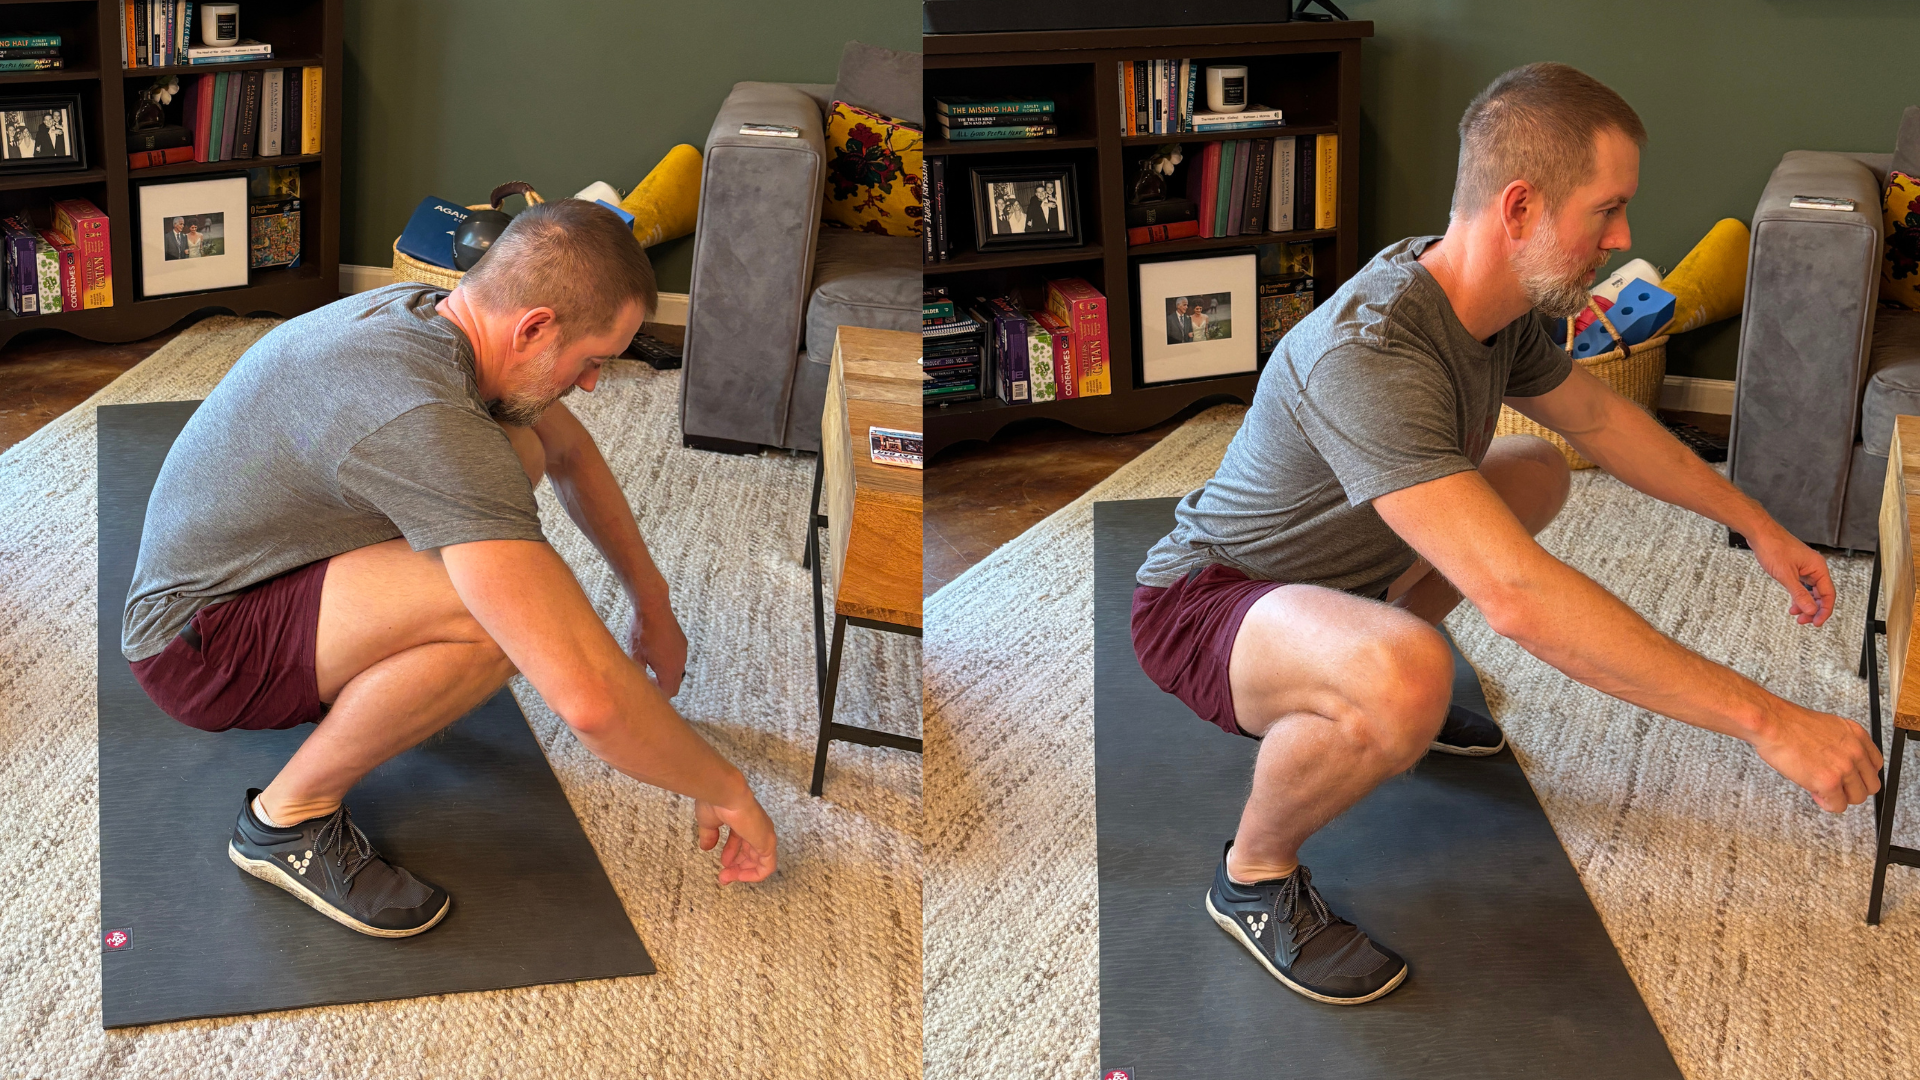
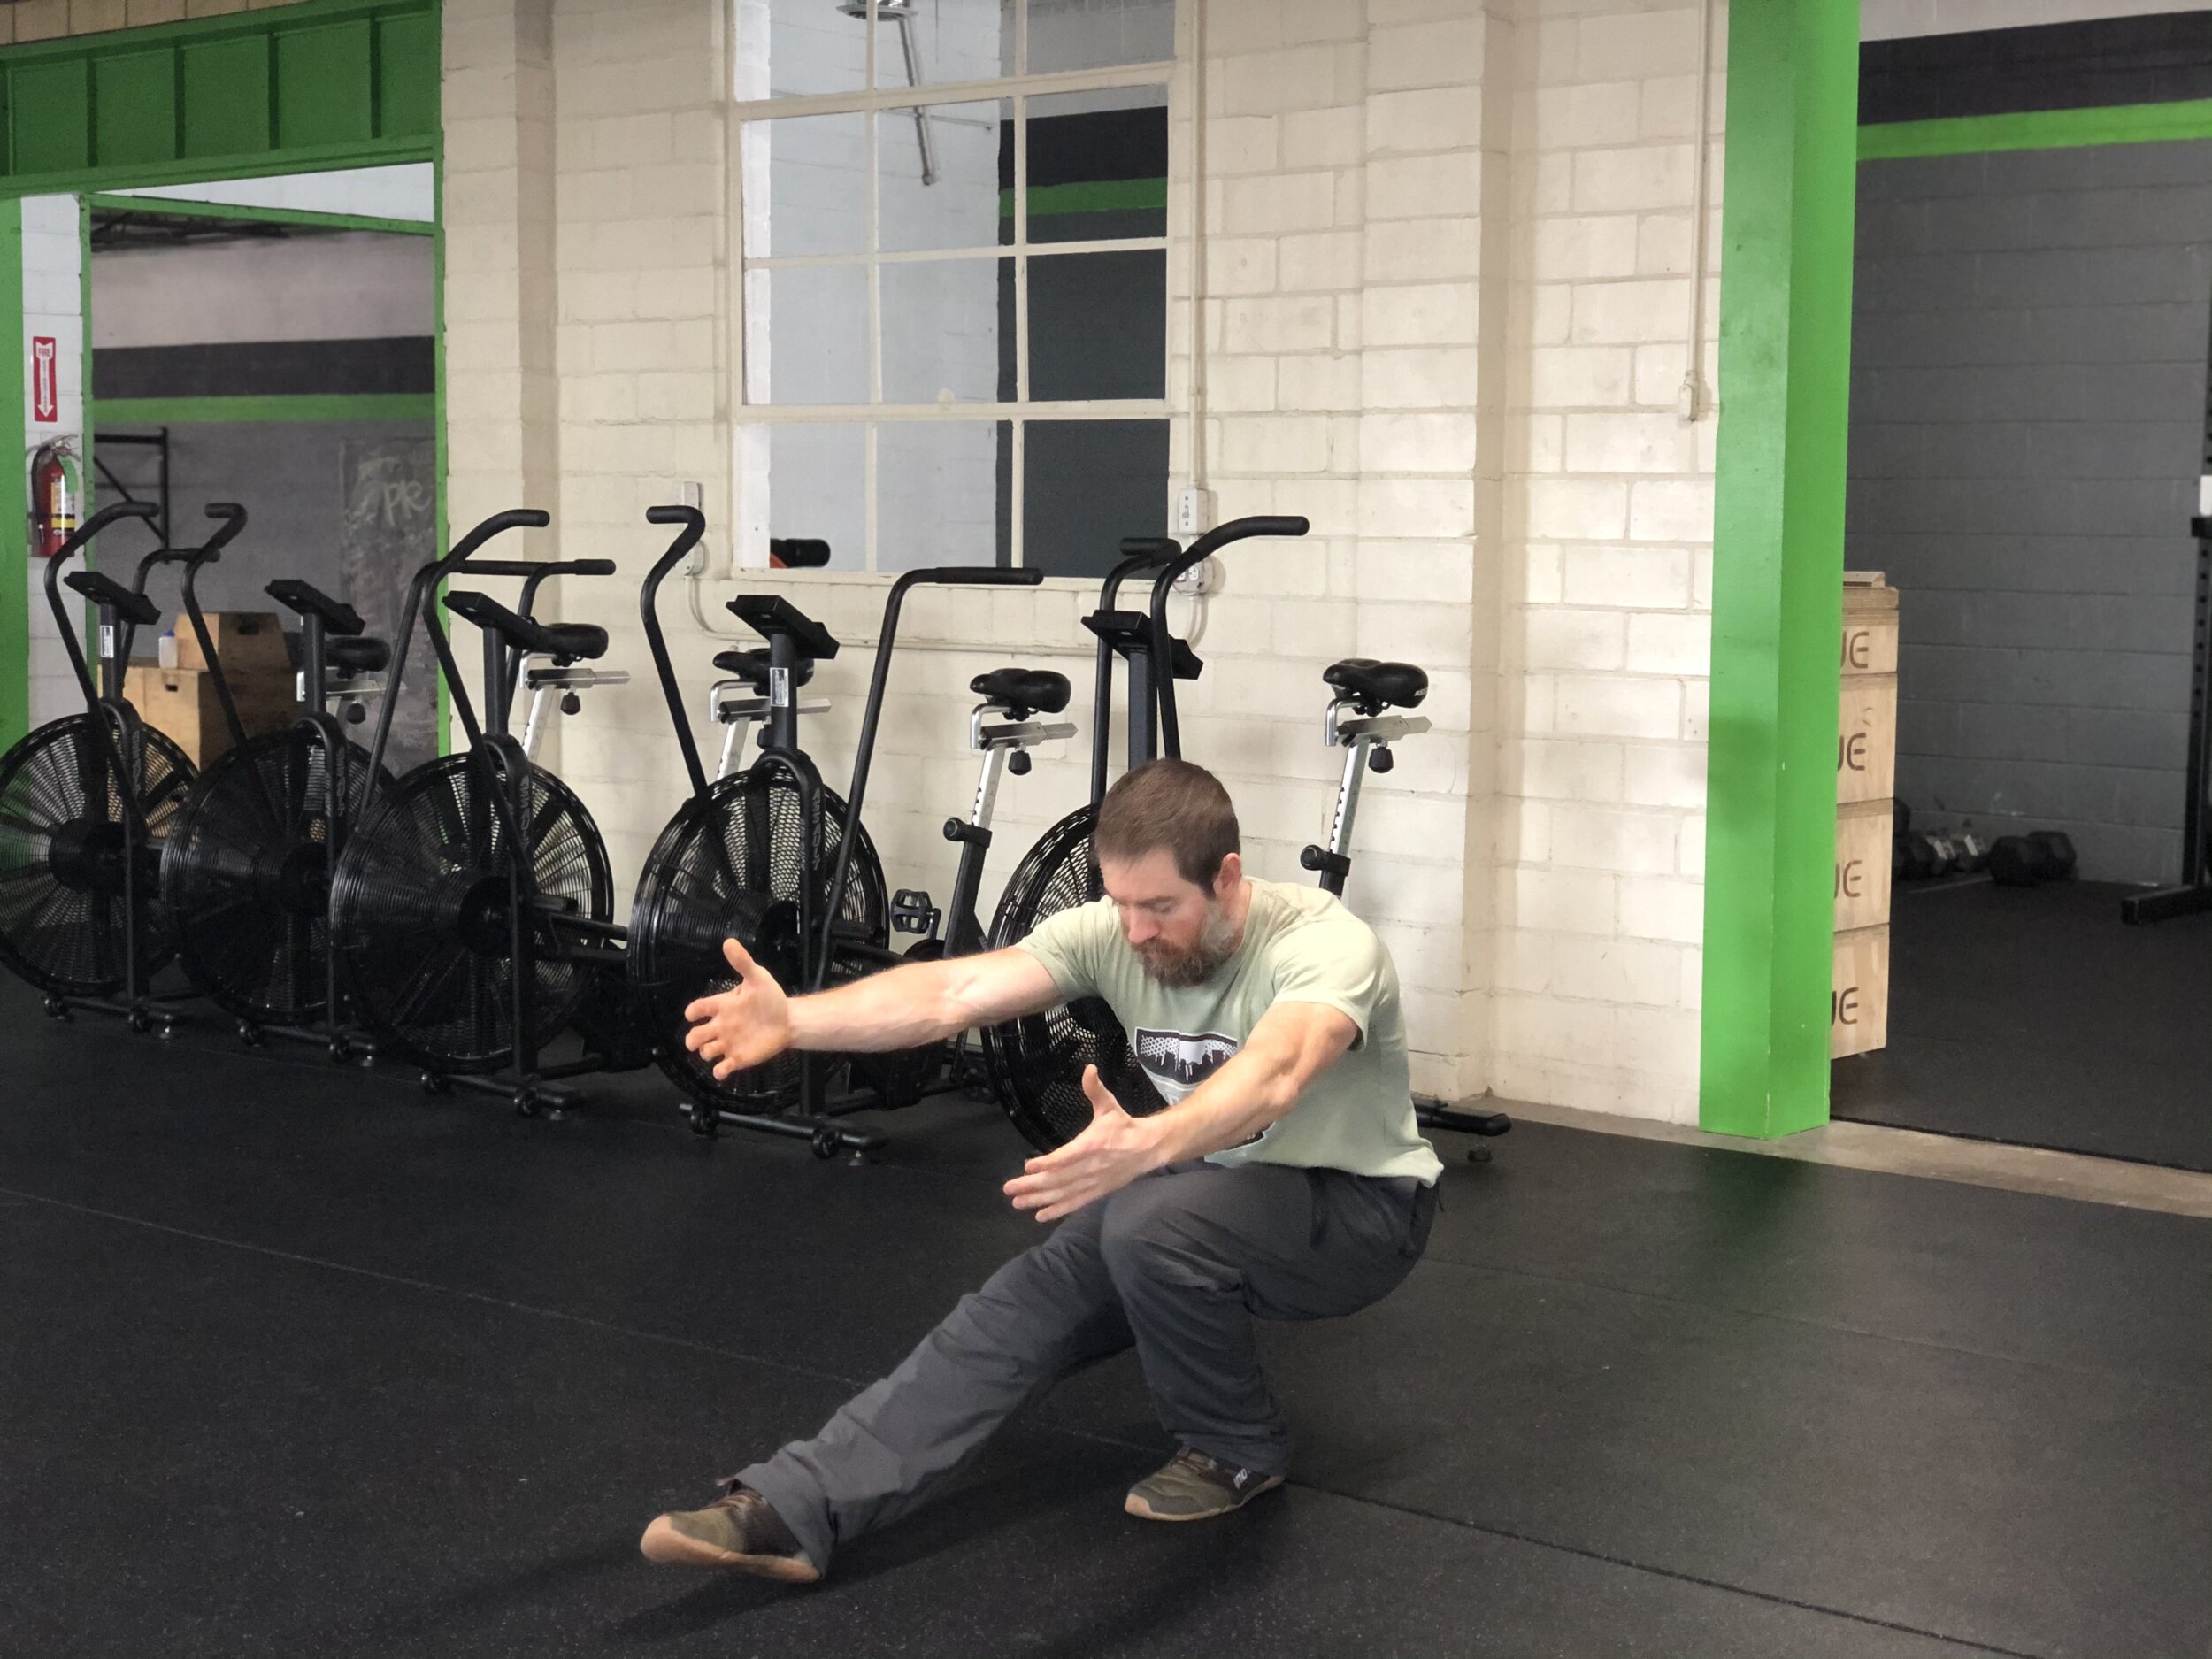
Y-Balance
This exercise can be done in almost endless variations, each challenging your stability in a different way. The goal of the Y-Balance is to create stability in the foot.
Balance on one leg.
Start with Position 1. Lower yourself to your lowest, best position keeping the focus on a stable foot with the ankle stacked and typically pausing at the bottom for 3 controlled breaths.
Work your way through Positions 2, 3, & 4.
Position 1: Foot in Front
Position 2: Foot Behind
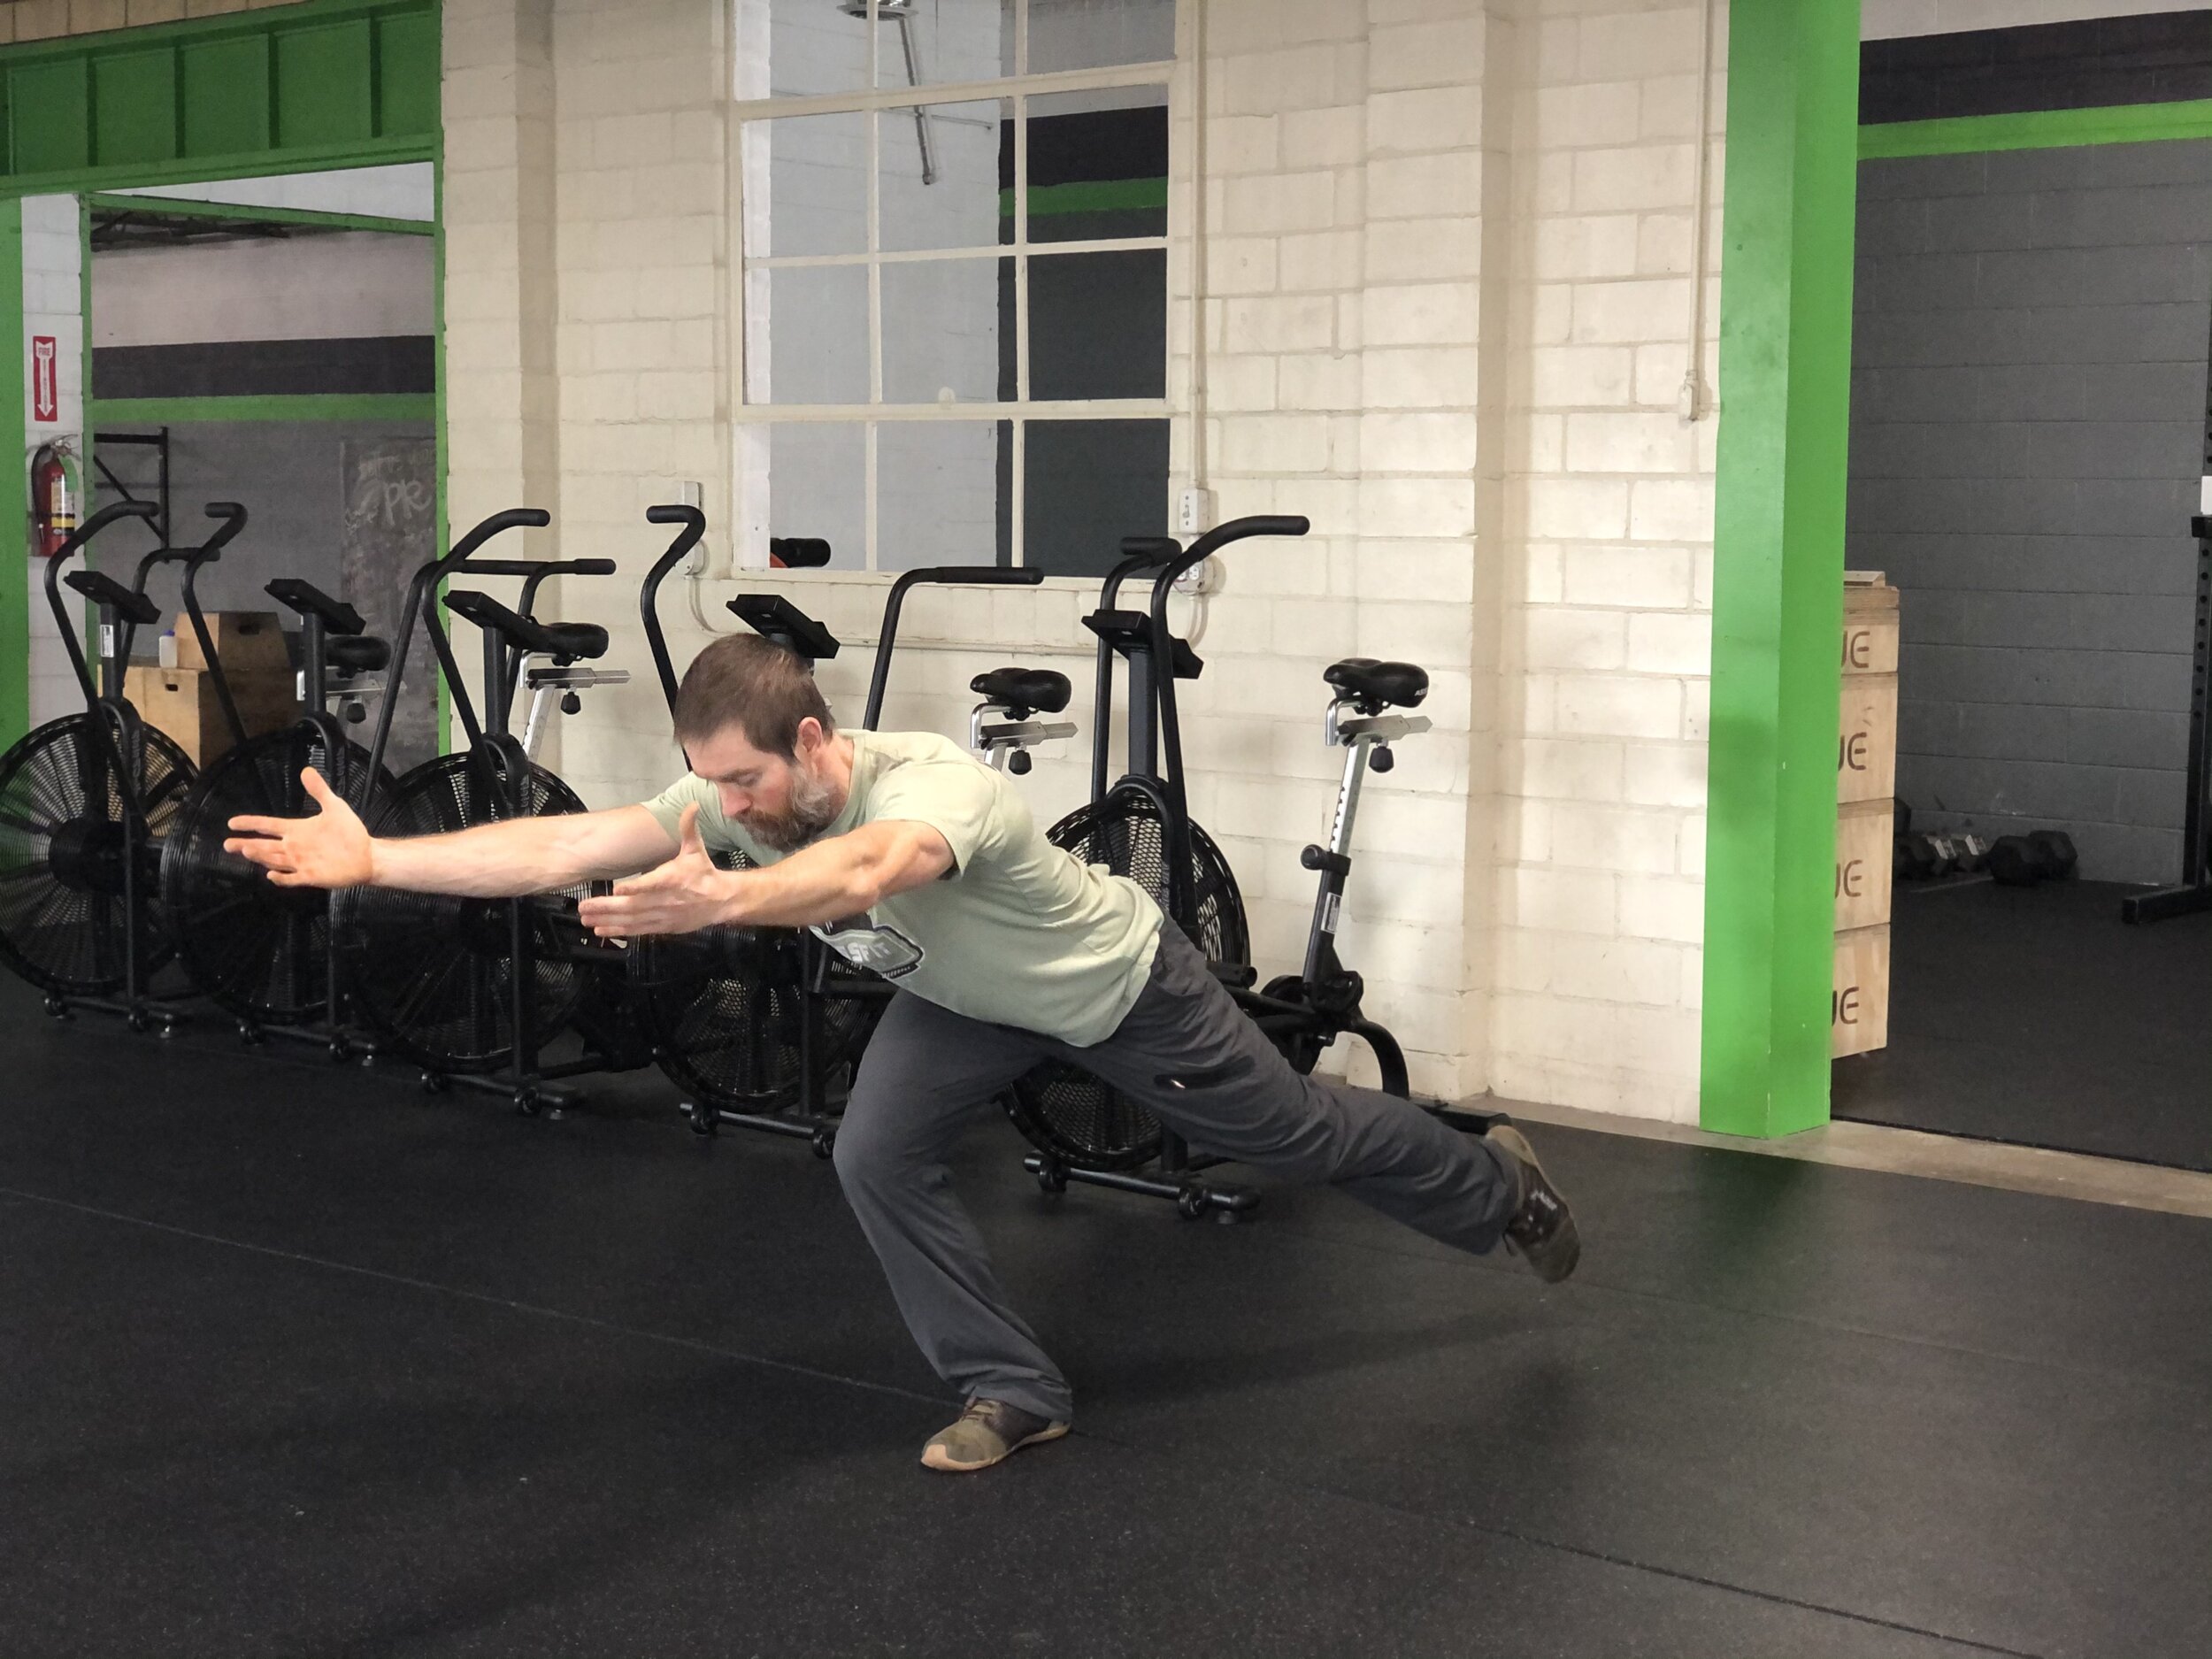
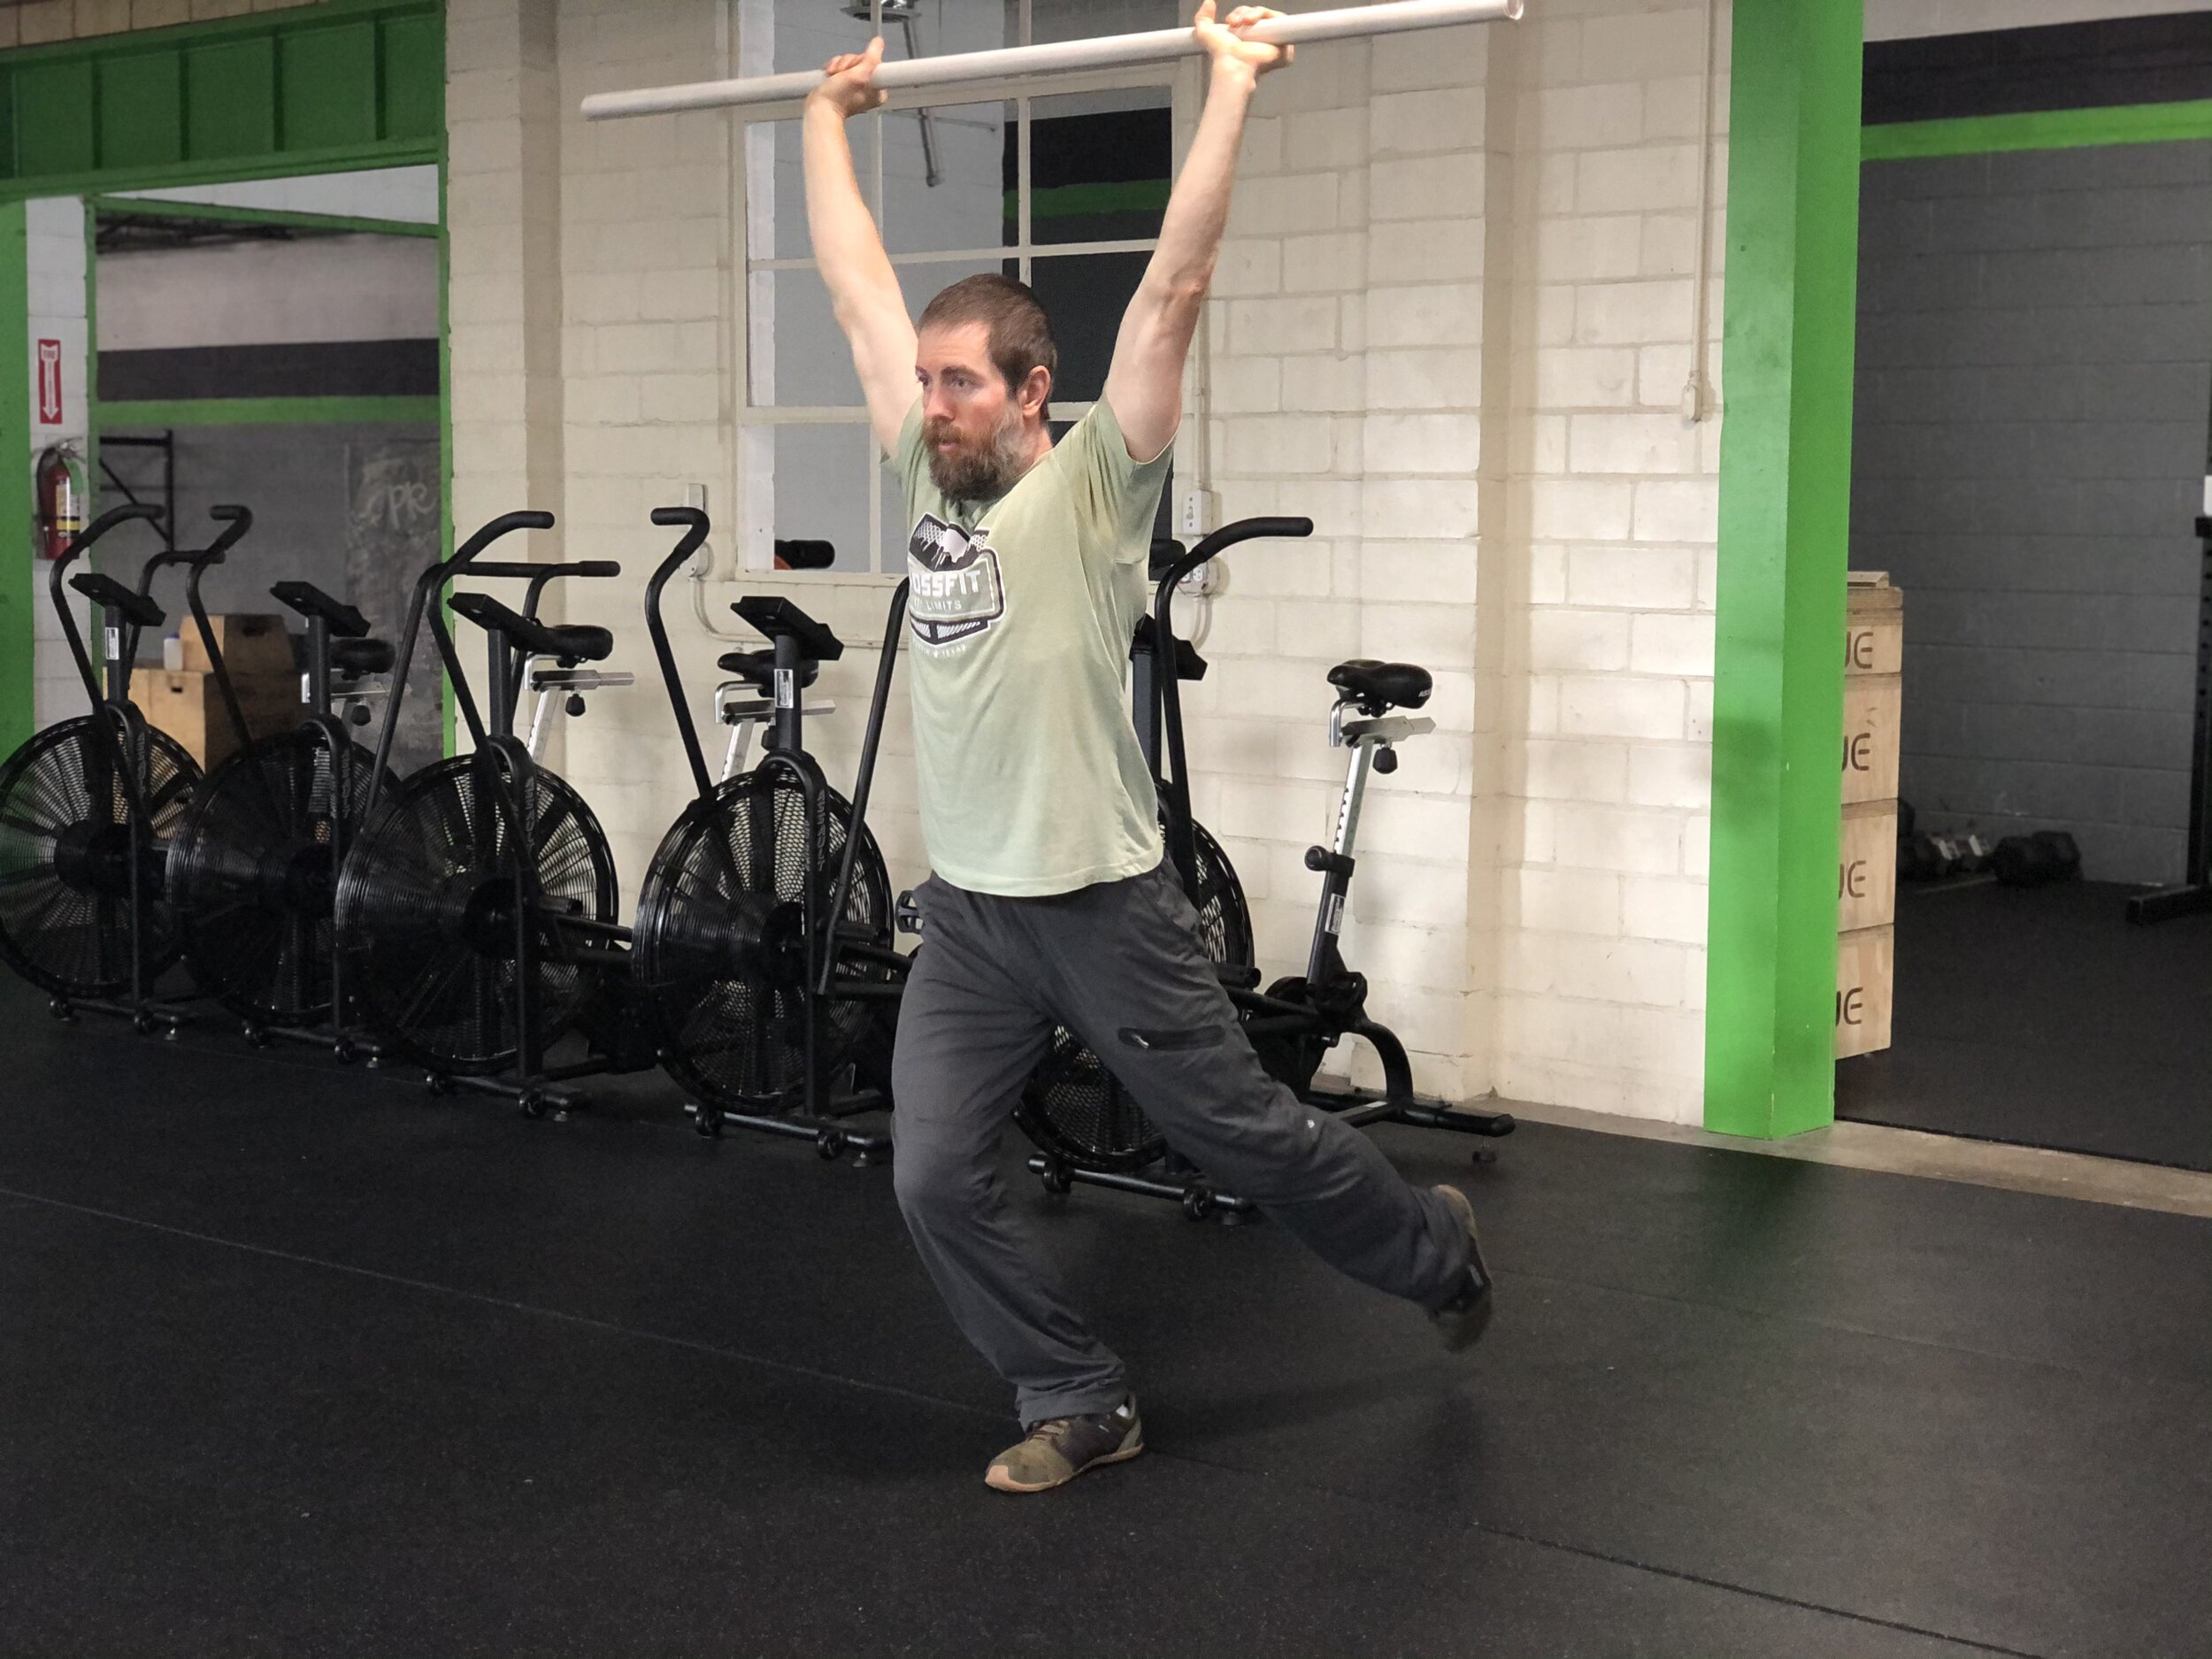
Position 3: Foot Out Sideways
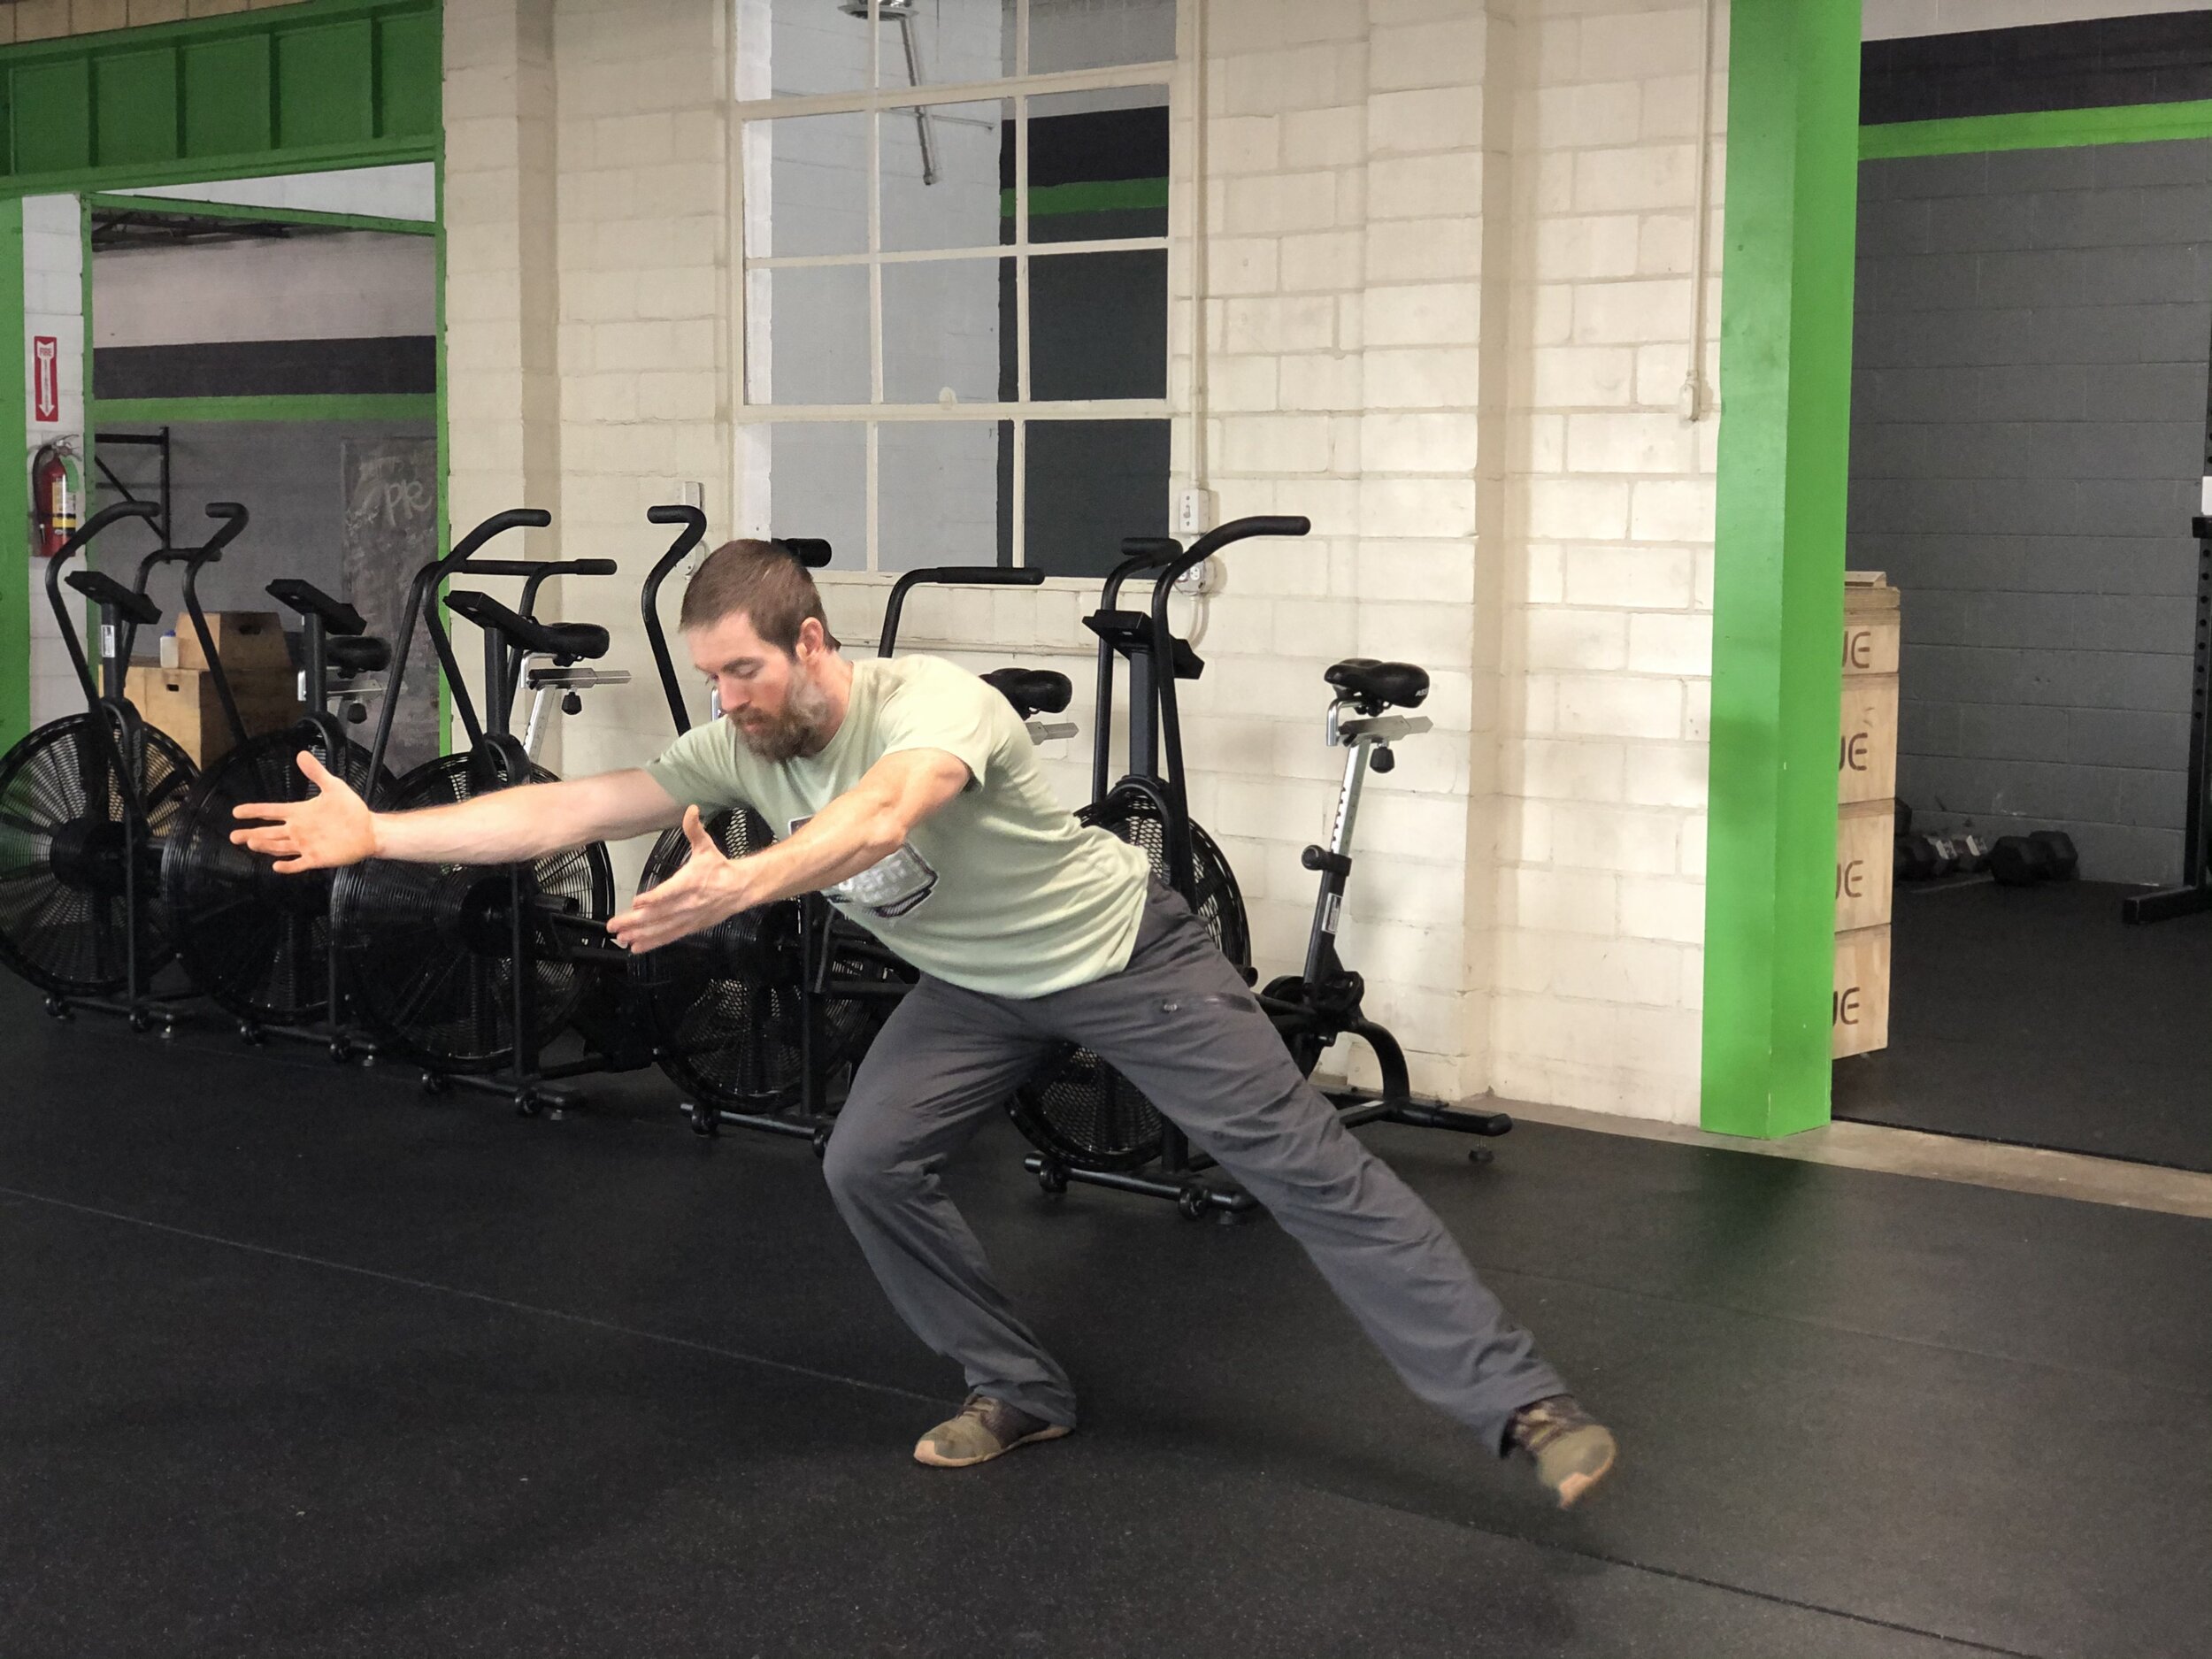
Position 4: Foot Under and Out Sideways