A Guide to the Snatch

7-Day Snatch Course
with Coach Kyle
Demo Videos
Squat Snatch Variation Demo Videos
Squat Snatch
High-Hang Squat Snatch
Hang Squat Snatch
Hip-Hang Squat Snatch
Hang Squat Snatch - Touch and Go
Power Snatch Variation Demo Videos
Power Snatch - Touch and Go
Hang Power Snatch
Hip-Hang Power Snatch
Hang Power Snatch - Touch and Go
Muscle Snatch Variation Demo Videos
Muscle Snatch
Hang Muscle Snatch
Snatch Pull Variation Demo Videos
Snatch Pull
Snatch Pull Paused at 1” and Hang
Snatch 1st Pulls
Slow Motion Hang Snatch Pull Drill
Hip-Hang Snatch Pull
Snatch Deadlift
Snatch Panda Pull
Hip-Hang Snatch Panda Pull
Snatch Balance Variation Demo Videos
Snatch-Grip Behind-the-Neck (BTN) Push Jerk
Heaving Snatch Balance
Snatch Balance
Technique Videos

The Set-up for the Snatch
Snatch 1st Pull
The first pull is all about set-up, control, and patients. The mistake so many beginners make is they prioritize pulling hard on the barbell and in doing so lose position for the 2nd pull. While getting the barbell moving as fast as you can is extremely important, in the 1st pull it is secondary to setting up a an optimal position to maximize power in the 2nd pull. So the 1st pulls priority is setting up the 2nd pull. To keep things simple and consistent, set-up with a back angle that is consistent with your jumping position. I prefer to think of the start as a squat as I try and maintain that same jumping back angle throughout the first pull. An issue is when we maintain the back angle, our knees can be in the way. The 1st pull is not a deadlift and has a very specific technique. You must pull your knees back and out of the way as you pull the bar in towards you all while maintaining your back angle. That way, at the end of the 1st pull, you are consistently in the same jumping position needed for the 2nd pull.
In short, the 1st pull is getting the barbell from the ground to a jumping position.

Snatch 2nd Pull
This uses the jumping pattern. If you did the 1st pull well, the 2nd pull will start with shins mostly vertical and your back at about a 45 degree angle. From there you simply use your jumping pattern. Keeping weight through the full foot, just like a jump, you will drive your knees forward as you scoop under the bar a bit to drive it up. A common mistake is for the athlete to deadlift the bar hard instead of using a jumping pattern. The finish of the 2nd pull is called triple extension. Triple extension is where your hips, knees, and ankles are completely extended. The goal is to maximize bar speed at this moment and the jumping pattern is the best way to achieve this.

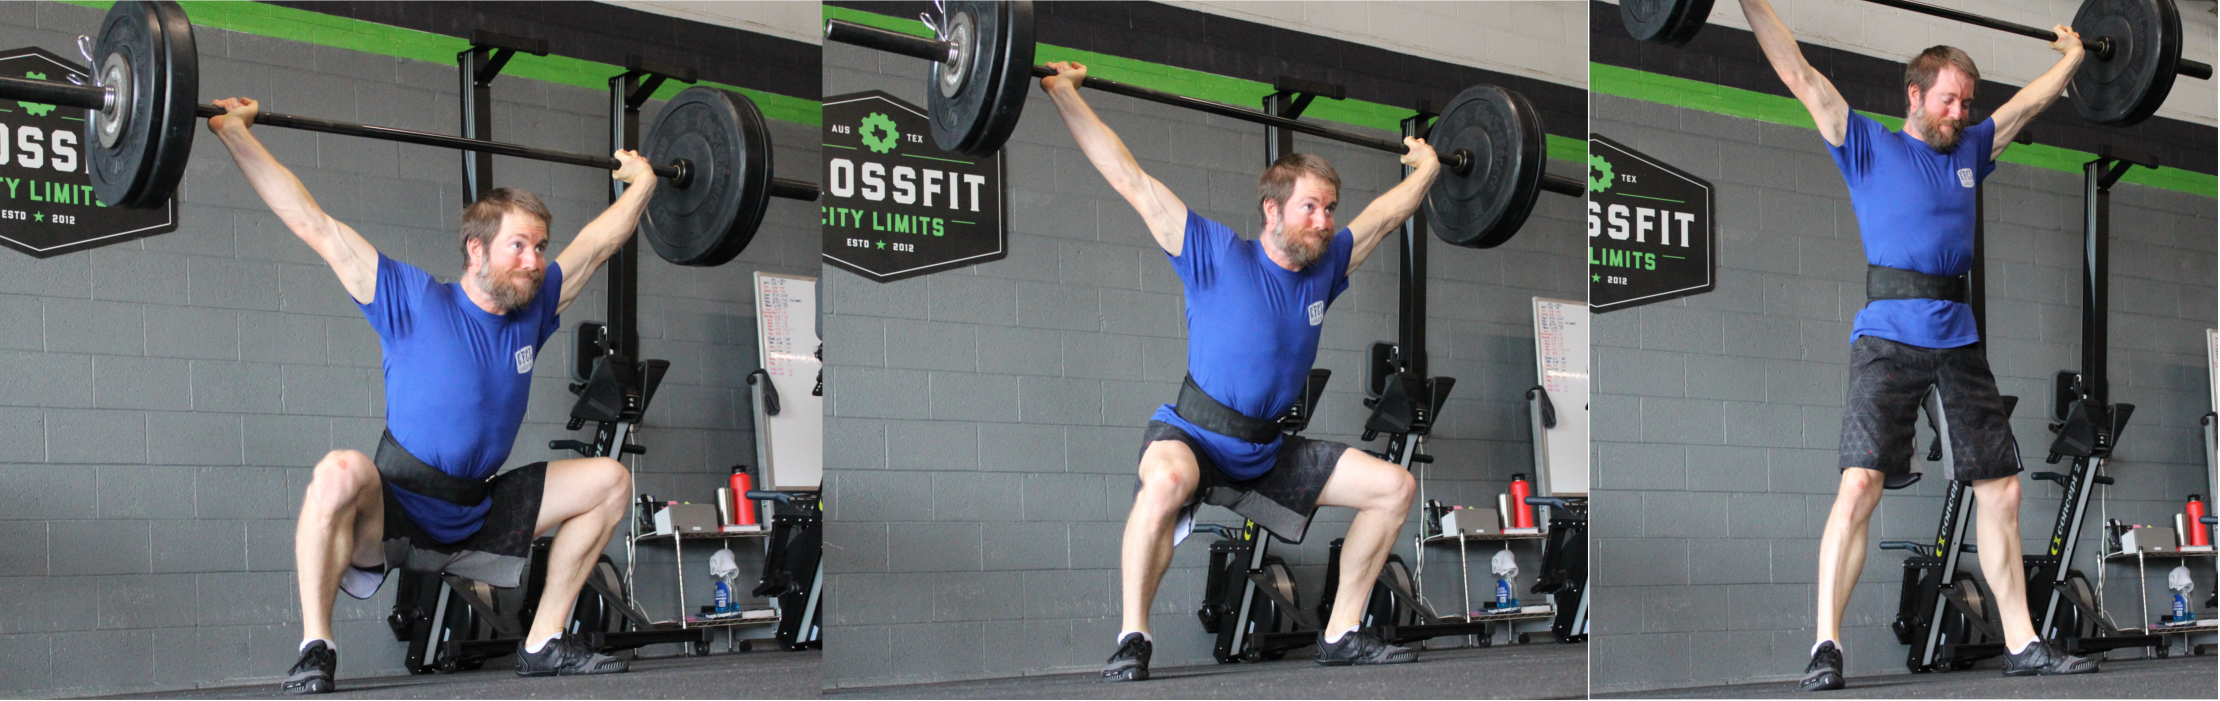
Snatch 3rd Pull
Now the move turns into gymnastics in the 3rd pull. From the 1st and 2nd pull, you should have the barbell traveling upward and close to your body. While the barbell is traveling upward, you will use the barbell like it is a pull-up bar. You will pull against it to pull your body down and the press against it to press your body down and into an overhead squat position. The most common misunderstanding in the snatch is in the 3rd pull. Athletes think that either you are supposed to pull the barbell up or you are supposed to drop under the barbell. Eventually the weight will be too heavy to pull-up, so that is not a good option. If you simply drop under the barbell, eventually that will take too long and you won’t be able to get into a receiving position. You must pull and press yourself under the barbell.